 Web Hosting
 Windows HostingBuilt for Windows apps and websites – stability, speed and flexibility
 Reseller HostingLaunch a hosting business without technical skills or expensive infrastructure
 Affiliate ProgramRefer customers and earn commissions from sales across our platform
 Domain SearchFind and secure a domain name in seconds with our quick lookup tool
 CO ZA Domains
 All DomainsExplore domain names from over 324 TLDs globally – all in one place
 Free Whois Lookup Tool South Africa
 VPS
VPS Website Builder
 Online ShopSet up a sleek eCommerce store with zero coding knowledge
 SSLs
SSLs SupportAccess help articles, how-tos, and everything about our services
 Blog
Blog Contact UsReach our team instantly via live chat or drop us an email
If you’ve purchased cPanel hosting but aren’t sure how to get into your hosting dashboard, accessing cPanel is usually a lot more straightforward than it feels the first time you try.
cPanel is the control panel used to manage things like your website files, domains, email accounts, databases, SSL and applications, all from one place rather than juggling separate tools for each task.
Whether you’re setting up your first website or you’ve just switched hosting providers, getting into cPanel is the starting point for pretty much everything else you’ll want to do with your hosting account.
Once you’re logged in, the rest of your setup, whether that’s installing WordPress, creating an email address, or uploading files, all happens from that same dashboard.
This guide covers how to access cPanel using a few different methods, what login details you’ll actually need, and what to do if you find yourself stuck and unable to log in.
Table of Contents
What Do You Need to Access cPanel?
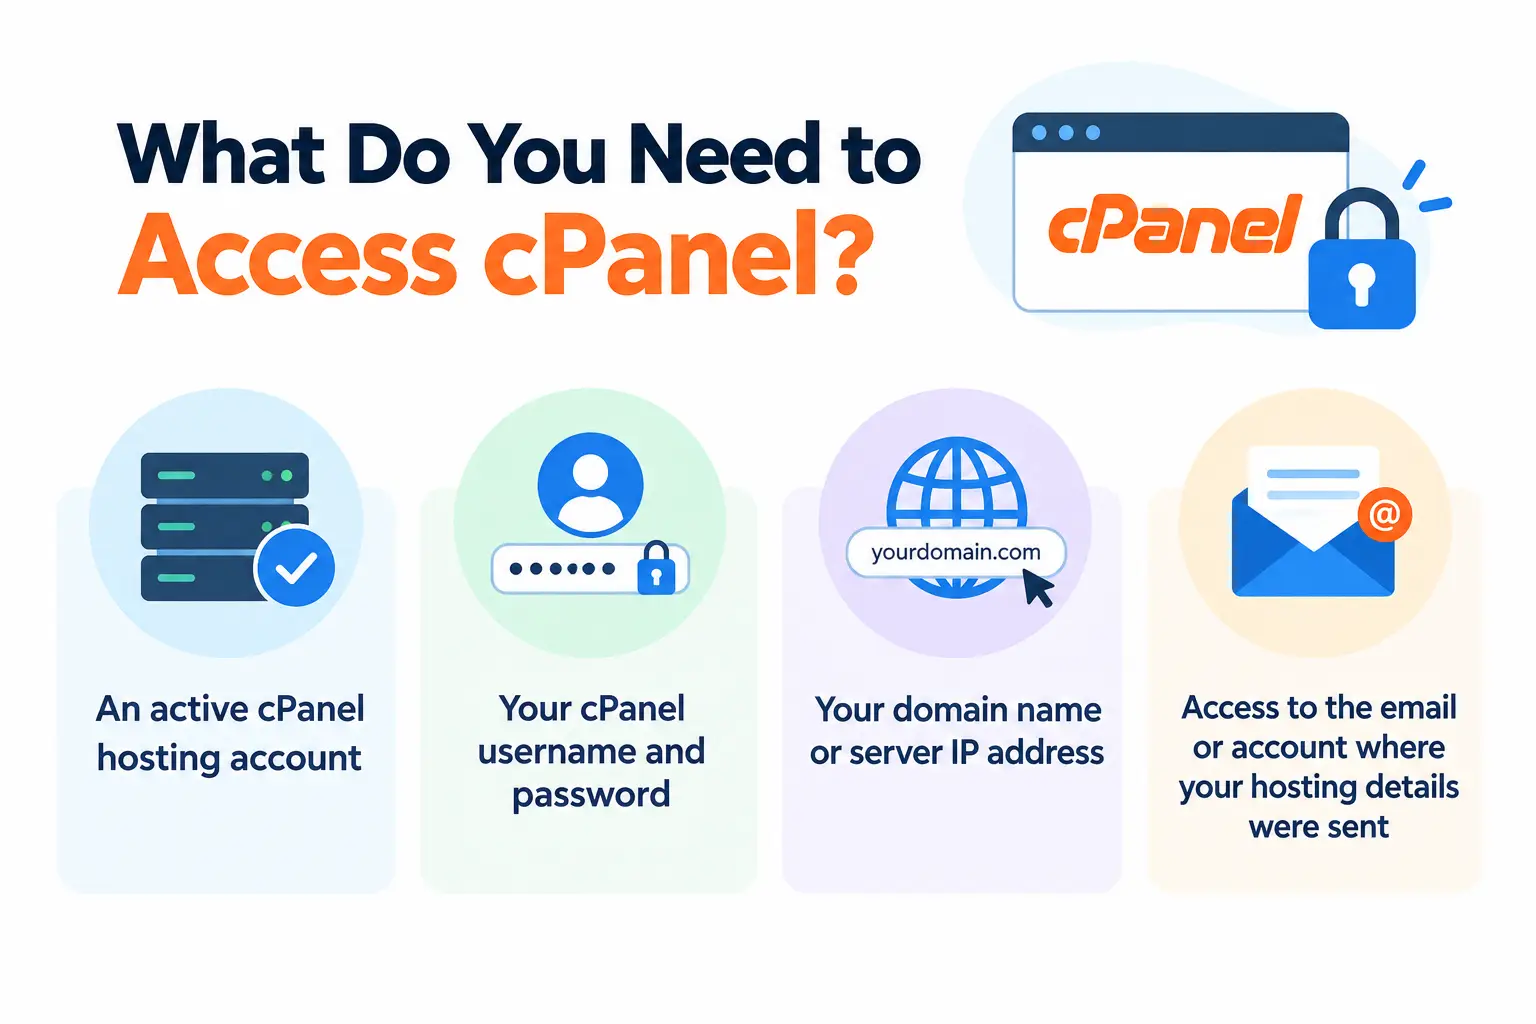
Before getting into the steps themselves, it helps to have a few things ready:
- An active cPanel hosting account
- Your cPanel username and password
- Your domain name or server IP address
- Access to the email or account where your hosting details were sent
Most hosting providers also give you a one click cPanel login through their client area, which tends to be the easier route for beginners who don’t want to deal with URLs or ports at all.
It also helps to know that these requirements can vary slightly between providers.
Some send your cPanel login details in a separate welcome email right after signup, while others store everything inside the client area itself and expect you to retrieve it from there.
If you’re not sure which applies to your account, checking your inbox for anything from your hosting provider around the time you signed up is usually the quickest way to track it down.
How to Access cPanel Through Your Hosting Provider
This should be the easiest method for beginners, since it doesn’t require remembering any specific URL structure.
The general process usually looks like this:
- Log in to your hosting provider’s client area.
- Open your hosting services.
- Select the hosting account you want to manage.
- Click the option to access or log in to cPanel.
This method is worth trying first, especially if you’ve never logged into cPanel directly before, since it removes the need to remember any specific URL, port number or additional login screen.
Most client areas are designed with this exact scenario in mind, so the button or link is usually easy enough to spot once you’re inside your account.
Access cPanel Through Truehost
For Truehost customers specifically, the process is fairly similar:
- Log in to the Truehost client area.
- Go to Services or My Services.
- Select your hosting package.
- Click Login to cPanel.
Truehost’s current client area documentation describes this one click route, and it remains one of the simplest ways to get into your dashboard without needing to remember a login URL at all.
This approach is particularly handy if you manage more than one hosting account, since the client area gives you a single place to jump between them rather than tracking separate login links for each domain you own.
It also means that if your login URL or port ever changes for any reason, the client area route still works exactly the same way.
How to Access cPanel Using Your Domain
This is the main generic method most people end up using, and it works regardless of which hosting provider you’re with.
cPanel can be accessed through your domain using the standard cPanel port:
https://yourdomain.com:2083
cPanel’s official documentation confirms that port 2083 is used for secure cPanel access, so this is the format you’ll want to rely on if a direct login link isn’t provided.
It’s worth noting that this method only works once your domain is actually pointing to the correct server.
If you’ve recently registered the domain or moved it to a new host, there’s a good chance this step won’t work immediately, which is exactly the kind of situation the server IP method further down is meant to solve.
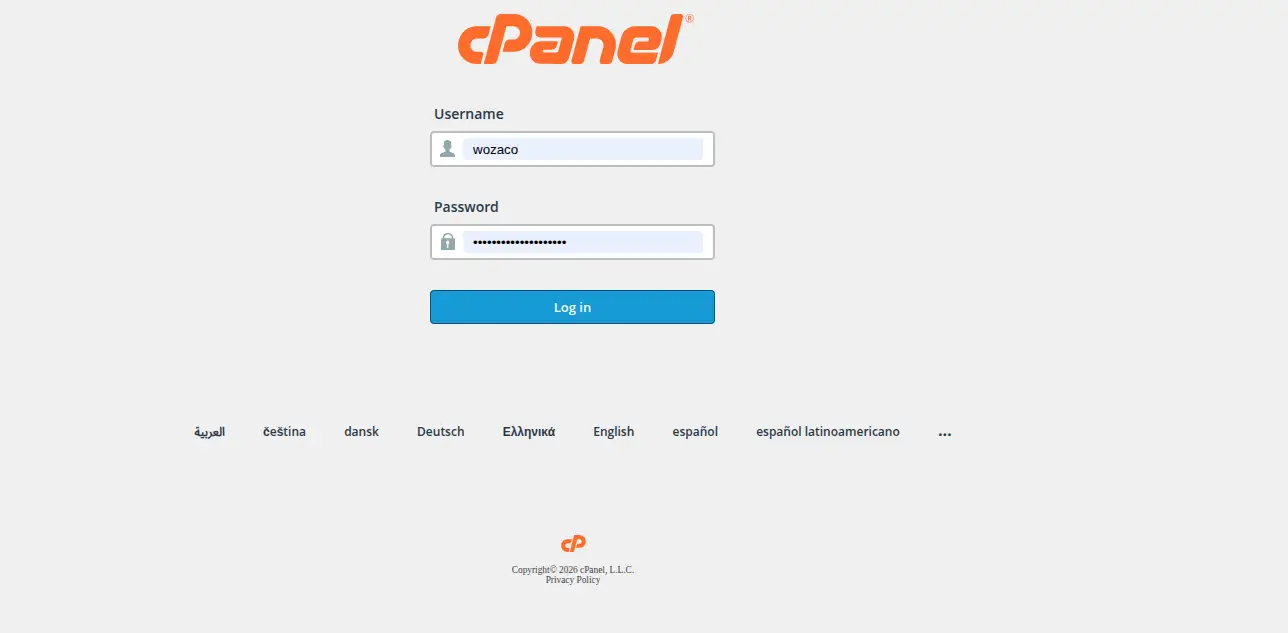
To log in this way:
- Open your browser.
- Enter your domain followed by :2083.
- Enter your cPanel username.
- Enter your password.
- Click Log in.
Some hosts also support a simpler /cpanel route added to the end of your domain, so it’s worth trying that too if the port based URL doesn’t load right away.
Either way you choose to log in, it’s worth bookmarking whichever URL actually works for your account.
Typing out a full domain and port number every time you need to check something can get tedious, and a saved bookmark removes that friction for future visits.
How to Access cPanel Using Your Server IP Address
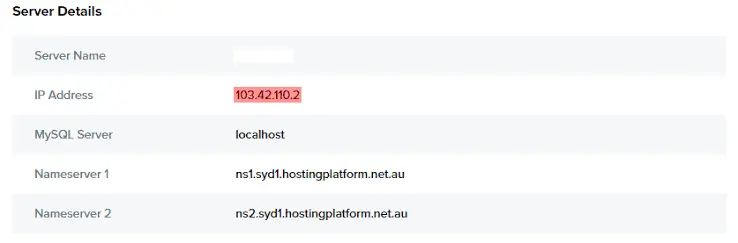
This method is particularly useful for anyone whose domain isn’t fully working yet.
You can use:
https://your-server-IP:2083
This approach can be especially useful when:
- The domain is new
- DNS hasn’t propagated
- The domain isn’t pointing to the server yet
cPanel confirms that users can access the interface using either the server IP or domain with port 2083, which makes this a reliable backup option whenever domain based access isn’t cooperating.
Knowing how to access cPanel through your server IP is genuinely useful for exactly this reason.
It gives you a way in even when your domain configuration is still catching up, rather than leaving you locked out while you wait.
One thing worth mentioning is that your browser may show a security warning when you connect through the server IP directly, since the SSL certificate is often issued for the domain rather than the raw IP address.
This warning is generally expected in this situation and doesn’t necessarily mean anything is wrong, but you should still confirm you’re entering the correct IP address before proceeding, since typing the wrong one could take you somewhere unintended.
Can’t Access cPanel? Try These Fixes
This section is worth paying close attention to if you’ve followed the steps above and still can’t get in.
a) Check your username and password
Make sure there are no typing errors, especially if you’re copying and pasting from an email, since extra spaces or missing characters are a surprisingly common cause of failed logins.
b) Try the client area login
If the direct URL isn’t working for whatever reason, your host may still provide one click access through their client area, so it’s worth trying that route as a workaround.
c) Check your domain’s DNS
If you’re trying to use your domain to access cPanel, DNS may not have propagated yet.
cPanel notes that domain based access depends on DNS propagation, which means a freshly configured domain simply might not work right away.
This is one of the more confusing issues for beginners, mainly because everything can look correct on your end while the domain still isn’t resolving properly elsewhere.
There’s usually nothing to fix here beyond waiting, though double checking that your nameservers are pointed correctly is worth doing while you wait, just to rule out a simple configuration mistake.
d) Try the server IP
Use the IP address with port 2083 if the domain isn’t resolving yet.
This sidesteps the DNS issue entirely and gets you into your dashboard while things settle.
e) Reset your password
If you’ve forgotten your credentials, use the hosting provider’s password recovery process, or reach out to support directly if that option isn’t available or isn’t working.
Password resets typically involve verifying your identity through the email address linked to your hosting account, so it’s worth confirming you still have access to that inbox before starting the process.
If that email account is no longer accessible for any reason, contacting your provider’s support team directly is usually the fastest way forward.
f) Check whether cPanel is included
Not every hosting plan uses cPanel, so it’s worth verifying that your hosting package actually provides it before assuming something is broken on your end.
g) Clear your browser cache or try another browser
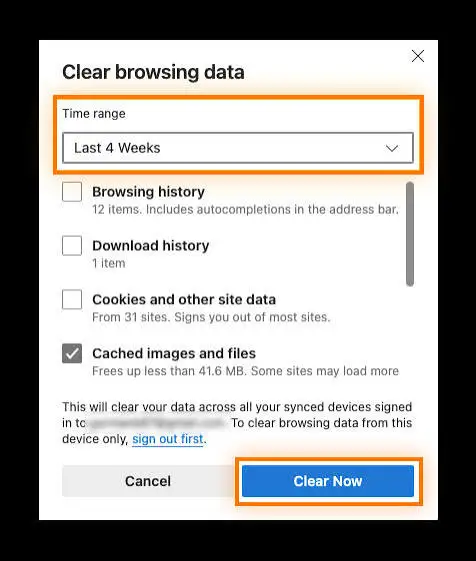
Occasionally a login issue has nothing to do with your account at all.
A cached version of an old login page, a browser extension interfering with the form, or a temporary glitch can all get in the way.
Clearing your cache, trying a private or incognito window, or simply switching to a different browser can rule out these smaller causes before you assume the problem is more serious.
How to Access cPanel if Your Domain Hasn’t Propagated Yet
This is a specific enough problem that it deserves its own section, since it’s one of the more common reasons people end up stuck.
The short version comes down to two scenarios:
- Domain working → use domain + :2083
- Domain not working yet → use server IP + :2083
DNS propagation can take time after changing DNS information, and cPanel notes that it can take up to 48 to 72 hours in some circumstances.
During that window, relying on your server IP is usually the more dependable way to get in.
If you’ve just signed up for hosting or recently changed your nameservers, this delay is completely normal and not a sign that anything has gone wrong.
Once propagation finishes, switching back to your domain plus :2083 should work without any extra steps.
While you’re waiting, it can help to check propagation status using an online DNS checker, which shows whether your domain is resolving correctly across different regions and providers.
This won’t speed up propagation itself, but it does give you a clearer picture of where things currently stand, rather than repeatedly refreshing your browser and wondering if the issue is on your end.
There’s genuinely no need to rush this part.
Most domains propagate well before the maximum window, and using the server IP in the meantime means you’re never actually locked out of your account while you wait for things to settle.
Get cPanel Hosting and Access Your Website From One Dashboard
Once you have cPanel hosting, accessing and managing your website becomes much simpler.
Instead of handling everything through command line tools, cPanel gives you a graphical dashboard for managing your website files, domains, email, databases, WordPress, SSL and other hosting functions, all without needing to touch a terminal.
Learning how to access cPanel is really just the first step.
Once you’re in, most of what you’ll need to manage your website day to day is available right there in the dashboard, from setting up email accounts to installing applications and monitoring your resource usage.
Truehost’s cPanel hosting gives you access to cPanel alongside features such as free SSL, one click application installation, email accounts, daily backups, and file and database management, so you’re not left piecing together separate tools on top of your hosting.
Whichever method you end up using to log in, whether that’s through your client area, your domain, or your server IP directly, the end result is the same.
You get a single dashboard for handling nearly everything your website needs, without relying on separate tools scattered across different logins.
Ready to manage your website with cPanel? Explore Truehost’s cPanel hosting plans and get your website online.