 Web Hosting
 Windows HostingBuilt for Windows apps and websites – stability, speed and flexibility
 Reseller HostingLaunch a hosting business without technical skills or expensive infrastructure
 Affiliate ProgramRefer customers and earn commissions from sales across our platform
 Domain SearchFind and secure a domain name in seconds with our quick lookup tool
 CO ZA Domains
 All DomainsExplore domain names from over 324 TLDs globally – all in one place
 Free Whois Lookup Tool South Africa
 VPS
VPS Website Builder
 Online ShopSet up a sleek eCommerce store with zero coding knowledge
 SSLs
SSLs SupportAccess help articles, how-tos, and everything about our services
 Blog
Blog Contact UsReach our team instantly via live chat or drop us an email
Sometimes a single website isn’t really one thing.
You might want to separate a blog, an online store, a staging area for testing changes, a support section, or some other part of your site from the main pages entirely.
That’s exactly what a subdomain is for.
A subdomain is essentially an extension of your main domain that functions as its own separate section or site.
If your main domain is example.co.za, a subdomain might look like blog.example.co.za, sitting in front of its own content while still belonging to the same overall domain.
cPanel provides the tools needed to create and manage subdomains without touching any server configuration directly.
Before getting started, you’ll need an active domain connected to your hosting account and access to your cPanel login.
This guide walks through the full process to create a subdomain in cPanel from start to finish.
Including uploading a website or WordPress to it, setting up SSL, and troubleshooting the issues that tend to come up along the way.
Table of Contents
What You Need Before Creating a Subdomain in cPanel
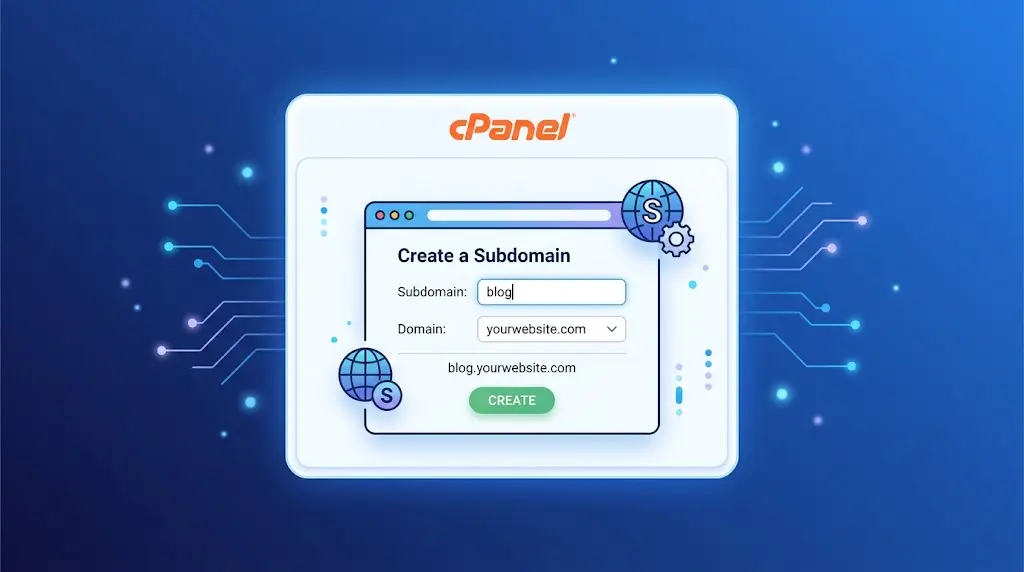
A few things should be in place before you start:
- A registered domain
- The domain connected to your hosting account
- Access to your cPanel account
- A hosting plan that actually allows subdomains
- A clear idea of what the subdomain will be used for and what content it should contain
That last point is worth thinking through properly before diving in.
Knowing upfront whether the subdomain will host a blog, a WordPress install, a staging copy of your site, or something else entirely makes the rest of the setup a lot more straightforward.
It’s also worth double checking that your specific hosting plan actually allows additional subdomains before getting started, since some entry level plans cap this number fairly low.
A quick look at your plan’s feature list, or a message to support, settles this before you spend time planning out a subdomain structure your account can’t actually support.
How to Create a Subdomain in cPanel
Here’s the full process, step by step.
1) Log In to cPanel
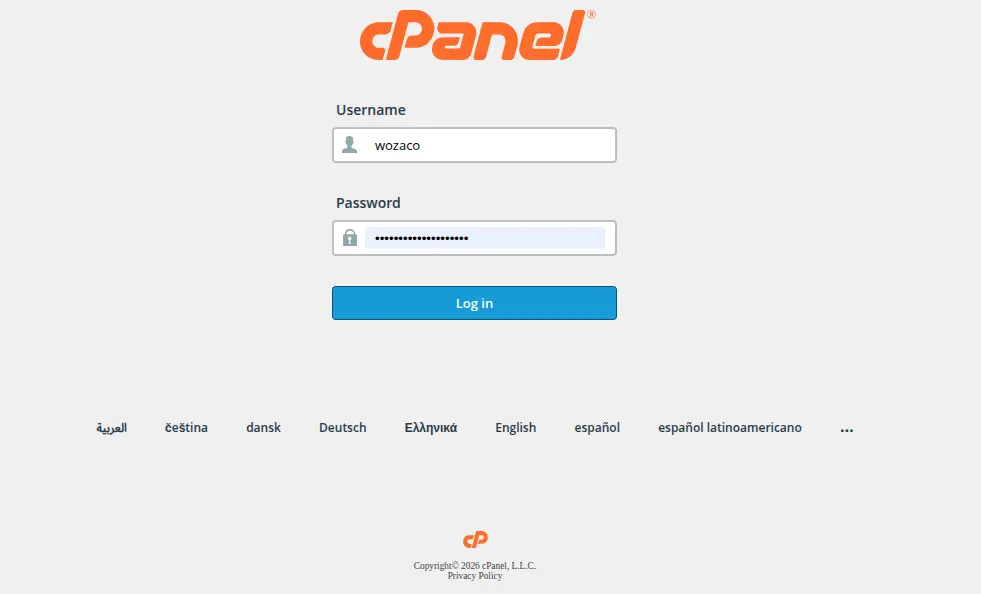
Open your hosting provider’s cPanel login page and enter your credentials.
Once you’re in, look for the Domains section on the dashboard, which is where subdomain creation happens.
2) Open the Domains Section
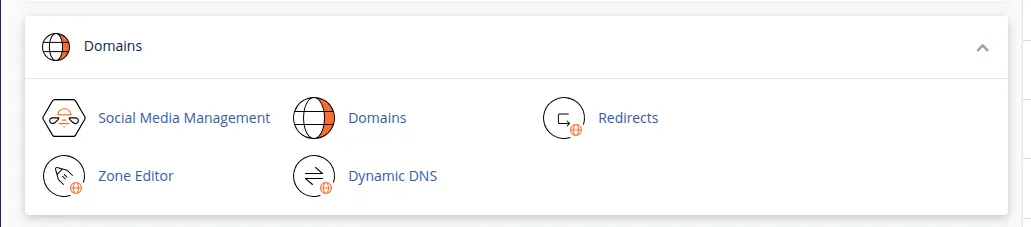
Depending on your specific cPanel version and interface, this option may simply appear labeled as Domains.
It’s worth knowing that cPanel’s interface can vary slightly between hosting providers.
Since some customize the layout or group features a little differently, even though the underlying functionality stays largely the same.
3) Click Create a New Domain
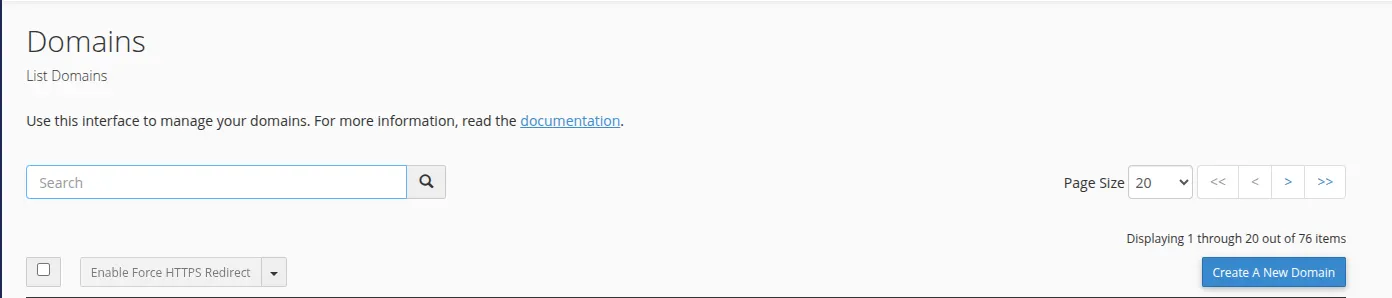
Most current cPanel interfaces handle subdomain creation through the same screen used for adding any new domain.
Enter the subdomain you want to create, such as blog.example.co.za, in the domain field provided.
If cPanel asks about setting up a document root for the new domain, this is simply asking where the subdomain’s files should live on the server.
It’s generally fine to accept the suggested default here unless you have a specific reason to place it somewhere else.
Entering the subdomain correctly at this stage counts for more than it might seem.
A typo here, or confusing the subdomain field with the full domain field, is a surprisingly common early mistake.
So it’s worth double checking the entry before moving on to the next step.
4) Choose the Document Root
A document root is just the specific folder on your hosting account where a domain or subdomain’s files are stored and served from.
For a subdomain, cPanel typically suggests something like public_html/blog by default.
Whatever files you upload into this directory are what the subdomain will actually display to visitors.
There’s no need to get into deeper server level configuration here.
As long as the document root is set to a sensible, clearly named folder, you’re good to move on to the next step.
5) Create the Subdomain
Once everything looks right, save or create the domain through cPanel’s interface.
Behind the scenes, cPanel automatically creates the associated directory and handles the configuration needed to connect the subdomain to that folder, without requiring any manual setup on your part.
This step also handles the DNS side of things automatically in most cPanel setups.
Creating the necessary A record pointing the subdomain to your server’s IP address without you needing to touch the Zone Editor directly.
That’s one of the genuine conveniences of using cPanel for this rather than configuring DNS records by hand.
6) Check That the Subdomain Works
Open the subdomain in a browser to confirm it’s actually working.
Depending on your hosting setup, DNS changes can take a little time to fully propagate, so don’t worry if it doesn’t load instantly.
What you see at this stage depends entirely on what’s already in the document root.
If nothing has been uploaded yet, you might see a default page or a blank directory listing rather than an actual website, which is completely normal at this point in the process.
How to Upload a Website to Your New Subdomain
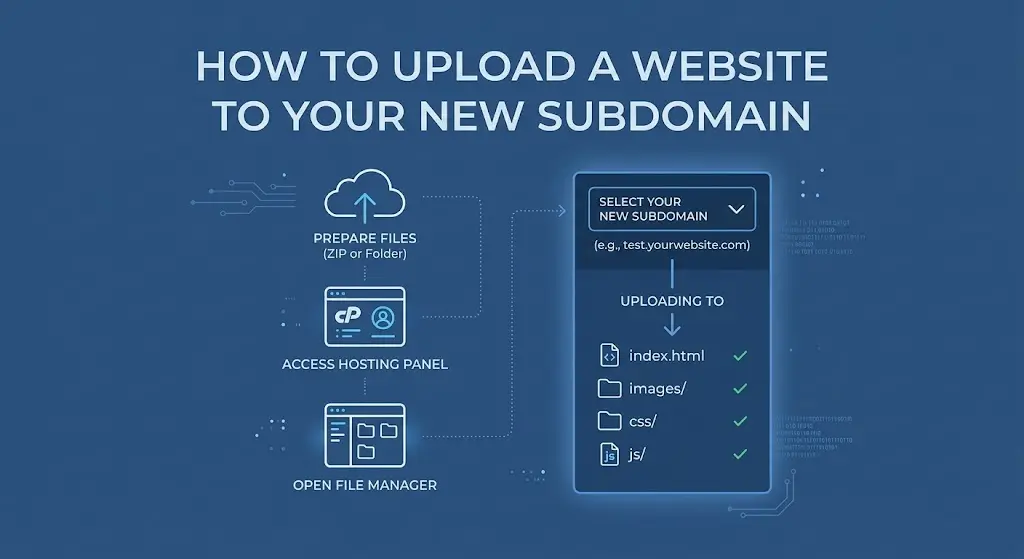
With the subdomain created, the next step is actually putting a website inside it.
Open File Manager in cPanel and navigate to the subdomain’s document root, the folder you set up during creation.
From there, upload your website files directly, or upload a ZIP archive and extract it once it’s on the server if that’s easier for a larger set of files.
Once the files are in place, confirm that index.html or index.php, whichever your site actually uses, is sitting directly inside the correct directory rather than nested inside an extra folder.
Then visit the subdomain in your browser to confirm everything loads the way it should.
This nested folder issue is one of the more common snags people run into here.
Extracting a ZIP file sometimes creates an extra folder layer automatically, leaving your index file one level deeper than it should be.
If the subdomain loads a blank page or a directory listing instead of your actual site, checking for this extra folder layer is usually the first thing worth looking at.
How to Install WordPress on a Subdomain
A lot of people use subdomains specifically to run a separate WordPress install.
Commonly for something like a blog sitting at blog.example.co.za while the main site runs on something else entirely, or vice versa.
If your hosting provider offers an application installer through cPanel, this is usually the fastest route.
Select WordPress from the installer, choose the subdomain as the installation location rather than your main domain.
And complete the setup by entering your site title, admin username and password.
WordPress can also be installed manually if you’d rather handle it yourself.
Which involves downloading WordPress, uploading it to the subdomain’s document root, creating a database, and running through the WordPress installation screens directly.
The application installer route is generally quicker for most people, though the manual method gives you a bit more control over the exact setup.
Either way, it’s worth treating the subdomain’s WordPress install as completely separate from anything running on your main domain.
With its own database, its own plugins, and its own updates to manage, rather than assuming the two sites share anything behind the scenes beyond the overall hosting account they both live on.
How to Add SSL to a Subdomain
A subdomain should run on HTTPS just like your main domain, particularly if it’s handling anything involving logins, forms, or sensitive information.
Even for simpler use cases like a blog, HTTPS has become the expected baseline for any public facing website at this point.
Many hosting providers automatically provision SSL for new subdomains, so it’s worth checking whether this has already happened before doing anything manually.
Visit the subdomain using https:// directly to see whether a valid certificate is already active.
If the browser shows a certificate warning instead of a secure padlock, this usually means the certificate hasn’t caught up with the new subdomain yet, or hasn’t been issued at all.
With Truehost’s cPanel hosting, SSL support extends to subdomains as part of the standard hosting environment.
So running the SSL check again after giving it a little time, or reaching out to support if the warning persists, is generally enough to sort it out without needing a manual certificate installation process.
It’s worth giving this a little patience before assuming something has gone wrong.
A subdomain created minutes ago may simply not have been picked up by the automatic SSL check yet.
And a short wait followed by a fresh check in cPanel’s SSL status tool resolves the vast majority of these cases without any further action needed.
Common Problems When Creating a Subdomain in cPanel
a) Subdomain Doesn’t Open
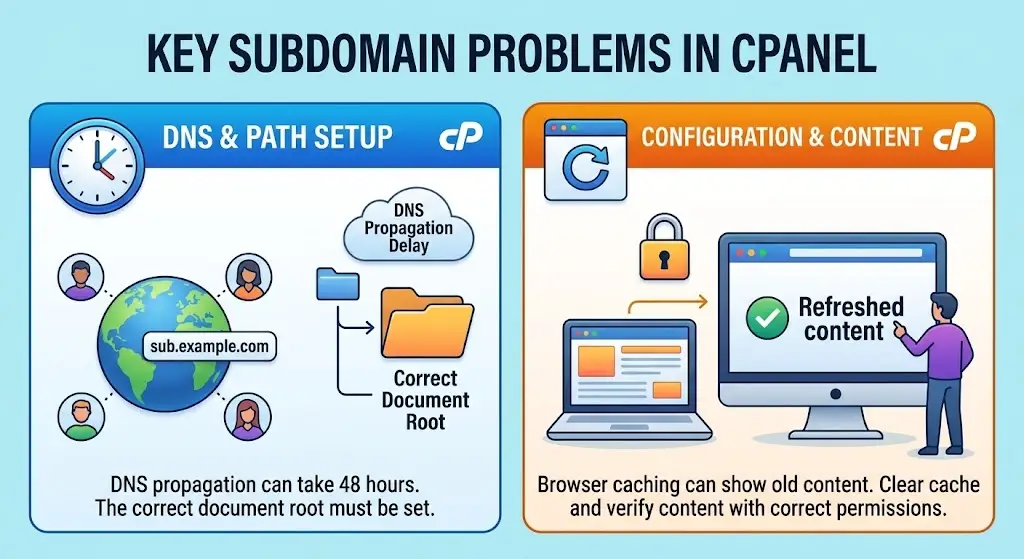
This usually comes down to DNS not having propagated yet, the domain not being correctly connected to the hosting account in the first place, or incorrect DNS records sitting somewhere in the setup.
Waiting a short while and checking again resolves this in most cases, since DNS propagation delays are genuinely one of the most common reasons a freshly created subdomain doesn’t load immediately.
b) Subdomain Shows a 404 Error
A 404 here generally means the subdomain is resolving correctly to your server, but there’s no file in the document root for it to actually display.
This points toward an incorrect document root, website files that were never uploaded, or an application that hasn’t been properly configured yet.
Uploading an index.html or index.php file to the correct directory typically clears this up.
c) SSL Isn’t Working
This can happen when the certificate simply hasn’t been issued yet, when DNS isn’t pointing correctly to the server, or when SSL hasn’t been provisioned for the specific subdomain at all.
Tools like AutoSSL typically only cover a subdomain if it already existed in the account before the automatic check last ran.
So a subdomain created very recently might need its SSL check triggered again manually rather than waiting for the next scheduled pass.
d) Website Opens the Wrong Content
If the subdomain is showing content from your main website instead of its own.
This usually traces back to an incorrect document root, files that were accidentally uploaded to the main domain’s folder rather than the subdomain’s, or a redirect or DNS configuration pointing somewhere it shouldn’t.
e) Creation Fails Because the Directory Already Exists
cPanel generally won’t let you create a subdomain if a directory with the same name already exists somewhere in your account.
If creation fails without an obvious reason, checking File Manager for a leftover folder from an earlier attempt.
Or from a previous site that used a similar name, is worth doing before assuming something more serious is wrong.
f) Permission Errors Blocking Creation
Incorrect file or folder permissions can occasionally block cPanel from creating the directories a new subdomain needs.
Logging out and back into cPanel before retrying sometimes clears up display or cache related glitches that look like a permissions issue but aren’t.
Though a genuine permissions problem usually needs checking directly through File Manager.
Create a Subdomain With cPanel Hosting
Learning how to create a subdomain in cPanel is a genuinely useful skill once you start splitting a website into separate sections.
Whether that’s a blog, a store, a staging environment, or anything else that deserves its own space.
Truehost’s cPanel hosting gives customers the tools to manage domains, subdomains, and the rest of their hosting environment from one dashboard.
The exact cPanel interface can vary slightly depending on the specific hosting environment and provider.
But the core process covered here stays largely consistent regardless of where you’re hosting.
If you need cPanel to manage your website, domains and subdomains properly, Truehost’s cPanel hosting plans are worth exploring.
Choose a plan that gives you the room to add subdomains as your website grows, rather than running into limits the moment you need a second section added.