 Web Hosting
 Windows HostingBuilt for Windows apps and websites – stability, speed and flexibility
 Reseller HostingLaunch a hosting business without technical skills or expensive infrastructure
 Affiliate ProgramRefer customers and earn commissions from sales across our platform
 Domain SearchFind and secure a domain name in seconds with our quick lookup tool
 CO ZA Domains
 All DomainsExplore domain names from over 324 TLDs globally – all in one place
 Free Whois Lookup Tool South Africa
 VPS
VPS Website Builder
 Online ShopSet up a sleek eCommerce store with zero coding knowledge
 SSLs
SSLs SupportAccess help articles, how-tos, and everything about our services
 Blog
Blog Contact UsReach our team instantly via live chat or drop us an email
WordPress is one of the easiest ways to build a website, but before any of that page building or theme picking happens, you first need to actually get it installed on your hosting account.
If your hosting uses cPanel, the good news is you usually don’t need to manually upload files or create a database by hand to get it running. Most of that heavy lifting is handled for you.
Depending on your hosting provider and cPanel setup, WordPress may be available through WP Toolkit or another installer.
cPanel’s current documentation specifically points to WP Toolkit as the tool for this streamlined installation process, so that’s the route this guide focuses on first.
This guide explains how to install WordPress on cPanel, configure the basic settings, and access your new WordPress dashboard, from the very first login through to securing the finished site.
Table of Contents
What You Need Before Installing WordPress on cPanel
Keep this part practical. Before you start, you’ll need:
- A domain name
- An active cPanel hosting account
- Access to your cPanel login
- A hosting plan that supports WordPress
- Your domain pointed to the hosting account
If your domain isn’t connected to the hosting yet, the installation can still depend heavily on how your hosting account and domain are configured, so it’s worth confirming that connection before you get too far into the process.
It also helps to know roughly how much time to set aside.
A straightforward install WordPress on cPanel session, using WP Toolkit, usually takes only a few minutes once you have all of the above sorted out.
The manual route covered later takes longer, mostly because there are more individual steps that need to happen in the right order.
1) Log In to Your cPanel Account
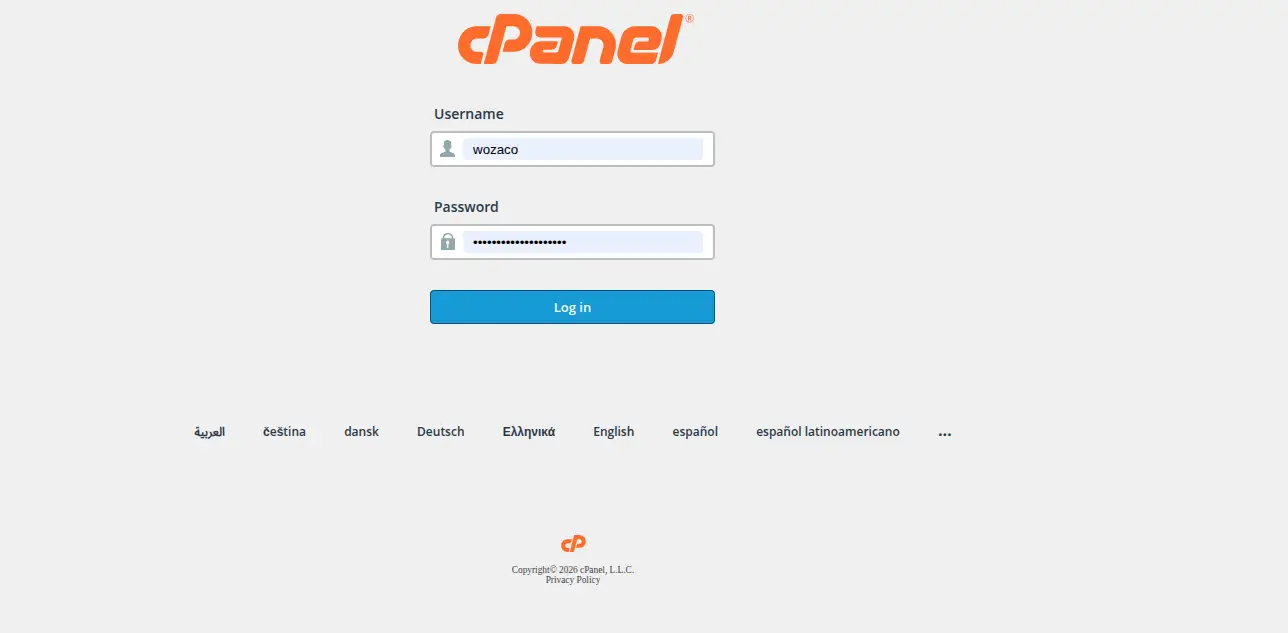
Start by opening your cPanel login page.
- Open your cPanel login page
- Enter your username
- Enter your password
- Click Log in
- Locate the WordPress installation or management tools
cPanel notes that users can generally access cPanel through their domain or server IP using port 2083, which is useful to know if your login link isn’t immediately obvious.
If you’ve never logged into cPanel before, your hosting provider typically sends this information in a welcome email when your account is first set up.
It’s worth keeping that email somewhere safe, since you’ll likely need to reference those details again down the line, especially if you ever need to reset your password or verify account ownership.
2) Find WP Toolkit in cPanel
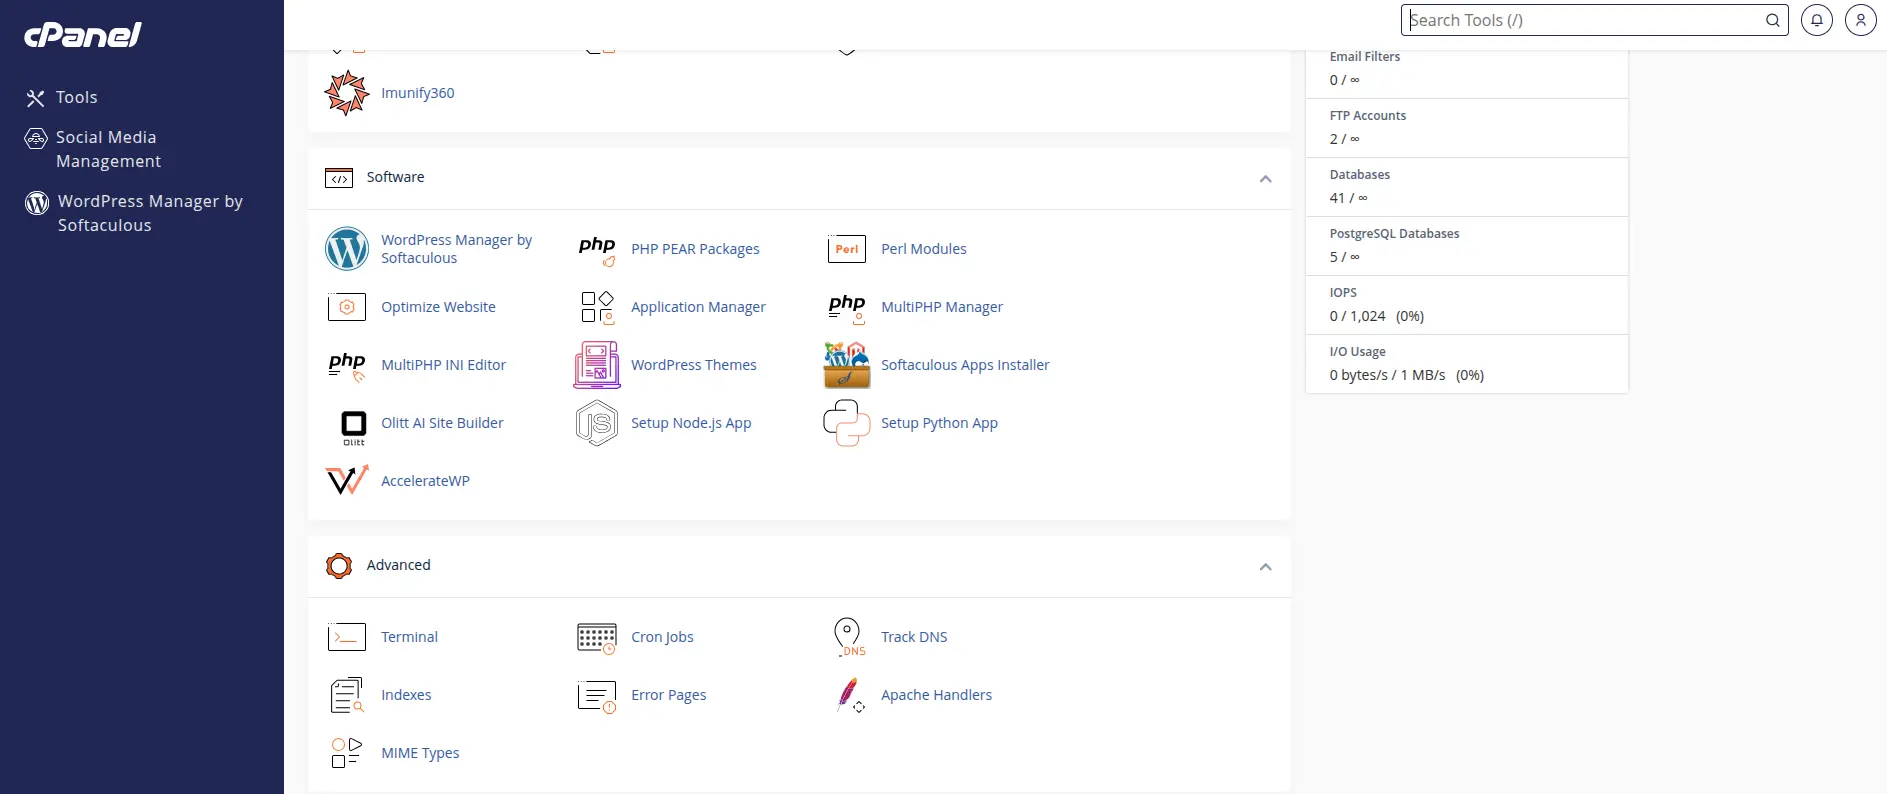
Once you’re logged in, head to cPanel → Domains → WP Toolkit.
WP Toolkit is essentially the easier route here, since it lets you install and manage WordPress without going through the full manual installation process described later in this guide.
A quick note worth keeping in mind: the exact interface can vary depending on your hosting provider and account configuration.
If WP Toolkit isn’t available on your account, don’t panic, since there’s a manual installation method covered further down that works just as well.
3) Select Your Domain

Once you’re inside WP Toolkit:
- Select the domain where you want WordPress installed
- Choose Install WordPress
- Confirm the installation path
This is also where it helps to understand the difference between example.com and example.com/wordpress.
For most users who want WordPress to actually be the main website, you generally want the installation placed on the domain’s main document root, rather than accidentally tucking the whole site away at /wordpress.
That said, there are legitimate reasons to install into a subdirectory.
If you’re running an existing website and want to test WordPress before fully committing to it, or if WordPress is meant to power just one section of a larger site, installing at a subdirectory path can make sense.
Just be clear on which setup you actually want before confirming, since moving a live WordPress installation later is more of a hassle than getting the path right the first time.
4) Enter Your WordPress Website Details
At this stage you’ll come across a handful of fields worth knowing your way around.
i) Website title This is simply the name displayed for the website.
ii) Website language Choose whichever language you’ll actually be using for your content.
iii) WordPress version Use the current supported version offered by the installer, rather than intentionally installing an older one. cPanel’s WP Toolkit documentation recommends sticking with the latest WordPress version, since older versions can carry known vulnerabilities.
iv) Administrator username Avoid something obvious like admin, since a predictable username makes it easier for anyone attempting to break in.
v) Administrator password Use something strong and unique here rather than reusing a password from somewhere else.
vi) Administrator email Use an email address you can actually access, since this is where password resets and important notifications will land.
5) Configure the WordPress Database
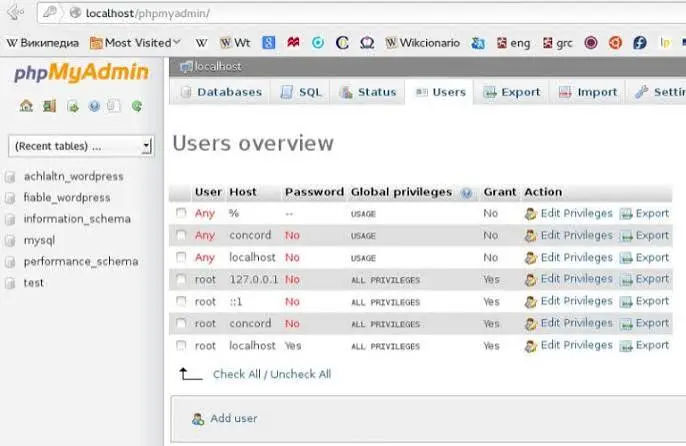
For a typical WP Toolkit installation, much of this step is handled for you automatically by the installer.
In plain terms, without turning this into a full MySQL lecture, WordPress stores things such as posts, pages, settings and user information in a database behind the scenes.
For more advanced users who want to customize things, it’s worth briefly knowing the fields involved:
- Database name
- Database username
- Database password
- Table prefix
cPanel’s documentation notes that database credentials in wp-config.php must match the credentials configured for the database, which becomes especially relevant if you ever end up troubleshooting a database connection error later on.
6) Click Install
Now comes the actual installation step.
Click Install and allow the process to run its course.
Once it completes successfully, the installer should give you access to the WordPress installation and its dashboard.
There isn’t much more to say here.
This step is refreshingly simple compared to everything leading up to it, which is really the whole point of using an automated installer in the first place.
Depending on your server load and the installer you’re using, this can take anywhere from under a minute to several minutes.
If a progress bar or status message appears, it’s worth leaving the page open rather than navigating away, just to avoid interrupting anything mid process.
7) Log In to Your WordPress Dashboard
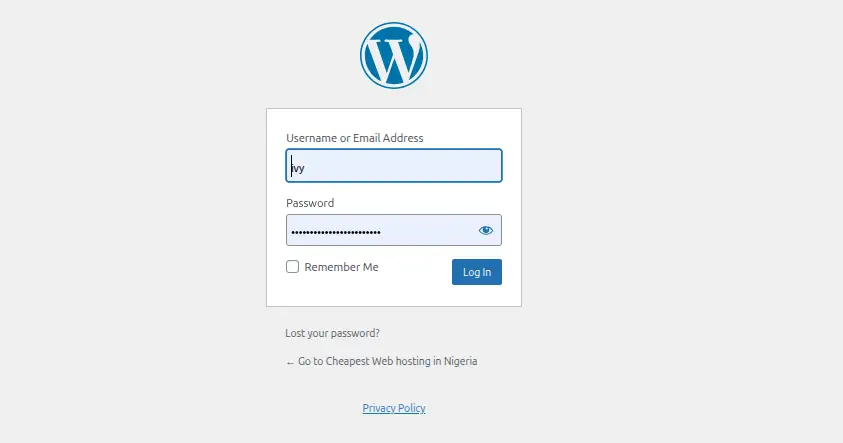
With WordPress installed, you’ll want to see what you’re actually working with.
Typically, you can reach your dashboard at yourdomain.com/wp-admin. From there, enter the administrator credentials you created during installation.
This is where you’ll manage everything going forward, including:
- Pages
- Posts
- Themes
- Plugins
- Media
- Users
- Settings
8) Complete the Basic WordPress Setup
This is where things move from “I installed it” to “my website is actually usable.”
Worth covering here:
- Set your site title and tagline
- Choose a theme
- Set your homepage
- Configure your permalink structure
- Add your logo and site identity
- Create essential pages
For most sites, those essential pages usually include something like Home, About, Services, Contact and Blog, though the exact list depends on what your site is actually for.
It’s worth resisting the urge to make everything perfect before publishing anything at all.
A basic version of each page, with the core information visitors need, is far more useful live than a polished version sitting unpublished on your computer somewhere.
You can always come back and refine things once the site is actually up.
9) Install Essential Plugins
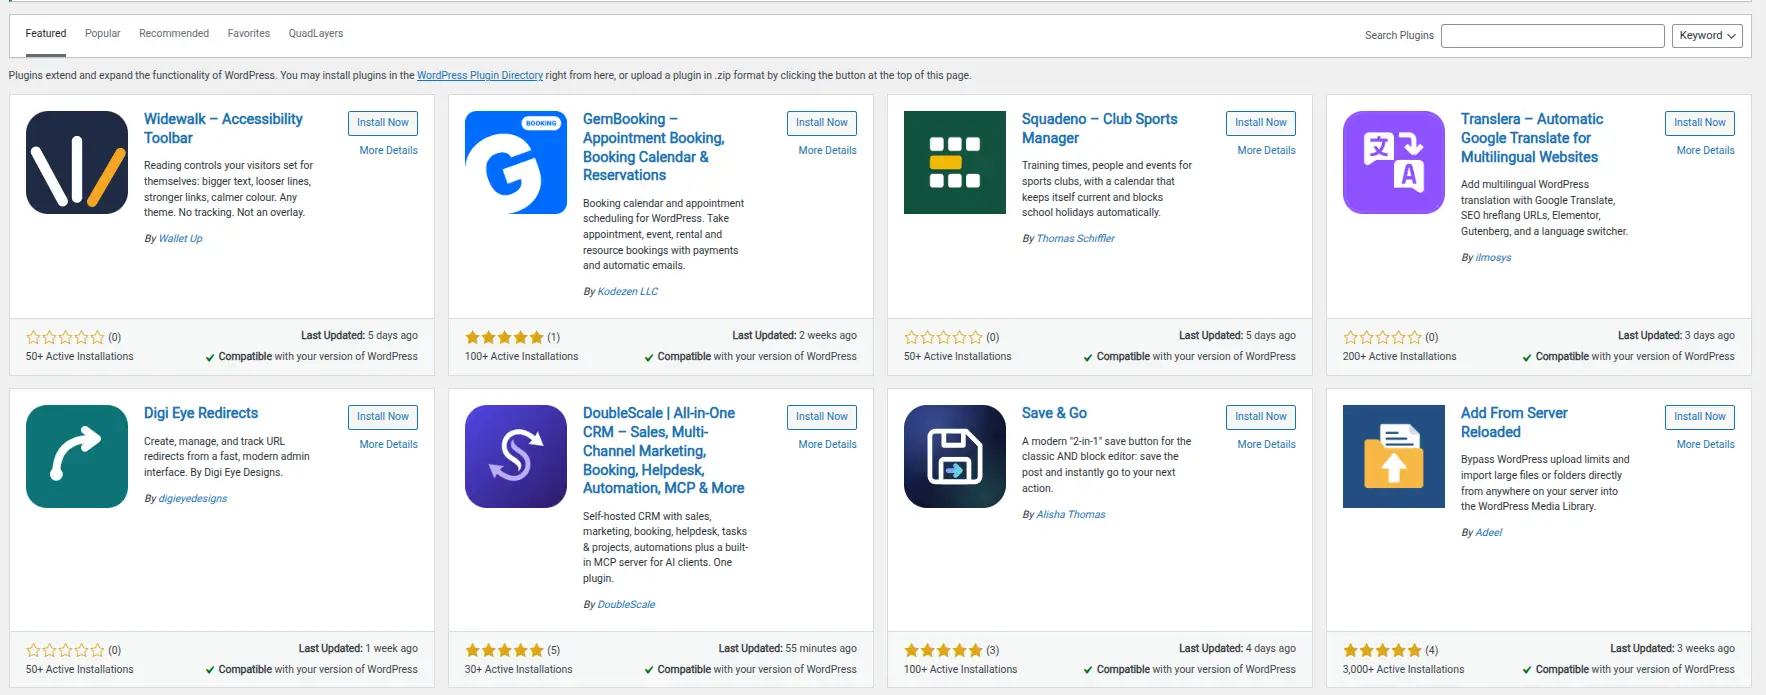
There’s no need to create a massive plugin list here.
Plugins add functionality to WordPress, and most sites end up covering a handful of categories, including:
- SEO
- Security
- Backups
- Contact forms
- Performance and caching
Quality counts for far more than quantity in this step, since installing a pile of unnecessary plugins can make ongoing site management considerably harder than it needs to be.
Every plugin you add is one more thing that needs updating, one more thing that could conflict with something else, and one more thing that could slow your site down if it’s poorly coded. Before installing anything, it’s worth asking whether you actually need it right now, or whether it’s something you’re adding just in case.
A smaller, well maintained set of plugins is almost always easier to manage than a large one you barely remember installing.
10) Secure Your WordPress Website
Before you consider the job finished, it’s worth covering the basics of keeping the site safe.
- Use a strong administrator password
- Keep WordPress updated
- Keep themes and plugins updated
- Enable HTTPS
- Take regular backups
- Use security tools where appropriate
- Remove unused themes and plugins
None of this needs to be complicated, but skipping it entirely tends to catch up with people eventually.
A site left unpatched for months, running outdated plugins nobody remembers installing, is a fairly common way sites end up compromised, and most of that risk is avoidable with a bit of regular upkeep.
What If WP Toolkit Isn’t Available?
This section is genuinely useful because it catches anyone whose cPanel setup looks a little different from the walkthrough above.
cPanel’s documentation also supports a manual WordPress installation for situations where the hosting provider doesn’t offer WordPress through its available tools.
At a high level, the process looks like this:
- Download WordPress
- Upload WordPress files to the correct directory
- Create a MySQL database
- Create a database user
- Assign the user to the database
- Configure wp-config.php
- Open your domain
- Complete the WordPress installation
This route requires more technical knowledge than WP Toolkit does, so if you can install WordPress on cPanel through the toolkit instead, it’s generally the smoother option for most people.
Still, it’s genuinely reassuring to know the manual path exists, since it means a missing WP Toolkit option doesn’t have to be a dead end.
If you do go this way, take it one step at a time rather than rushing through it.
A typo in a database name or a missing step in configuring wp-config.php is usually what causes problems later, and those small mistakes are far easier to catch as you go than to trace back afterward.
Common Problems When Installing WordPress on cPanel
| Problem | Possible Reasons | What to Check |
|---|---|---|
| WordPress installation isn’t showing | WP Toolkit isn’t enabled, hosting plan doesn’t support it, provider uses another installer | Confirm with your provider which installer is actually offered on your plan |
| Domain isn’t loading | DNS, nameservers or domain configuration issues | Check DNS records, nameservers and domain configuration |
| Database connection error | Mismatched credentials | Check that database credentials match the values configured for WordPress |
| WordPress installed in the wrong directory | Installation path set incorrectly | Check the installation path and document root |
| 404 errors | Site configuration or .htaccess issues | cPanel specifically identifies .htaccess and DNS as possible causes of 404 problems |
Get cPanel Hosting and Install WordPress
At the end of the day, deciding to install WordPress on cPanel doesn’t have to be complicated, whether you go the WP Toolkit route or handle it manually.
With an automated WordPress installer, you can get your site up and running without manually configuring files or databases from scratch.
Once WordPress is installed, you can choose a theme, create your pages, add plugins, and start publishing your content.
If you’re looking for a hosting environment that gives you cPanel access and the tools you need to manage your website, Truehost’s cPanel hosting is a simple place to start.
You can manage your hosting account, domains, email, files, and WordPress installation all from one platform, without juggling separate logins or scattered tools.
For anyone who has been putting this off simply because it sounded technical, hopefully this walkthrough has shown that it’s a fairly approachable process once you know what each screen is actually asking for.
Ready to launch your WordPress website? Choose a Truehost cPanel hosting plan and get started today.