 Web Hosting
 Windows HostingBuilt for Windows apps and websites – stability, speed and flexibility
 Reseller HostingLaunch a hosting business without technical skills or expensive infrastructure
 Affiliate ProgramRefer customers and earn commissions from sales across our platform
 Domain SearchFind and secure a domain name in seconds with our quick lookup tool
 CO ZA Domains
 All DomainsExplore domain names from over 324 TLDs globally – all in one place
 Free Whois Lookup Tool South Africa
 VPS
VPS Website Builder
 Online ShopSet up a sleek eCommerce store with zero coding knowledge
 SSLs
SSLs SupportAccess help articles, how-tos, and everything about our services
 Blog
Blog Contact UsReach our team instantly via live chat or drop us an email
Self-hosting OpenClaw on a VPS gives you something running it on your laptop can’t: an AI agent that stays online and keeps working even after you’ve logged off for the day.
It can handle web research, automate workflows, organize emails, and respond through messaging apps like Telegram or WhatsApp without requiring your constant attention.
A standard VPS gives you the uptime you need, but getting OpenClaw running often means installing Node.js, configuring Docker, setting up dependencies, and resolving configuration issues before your AI agent is ready.
A Truehost OpenClaw VPS removes that extra work.
OpenClaw comes pre-configured with the required environment already in place, so you can skip the lengthy setup and start building your AI workflows sooner.
With infrastructure in South Africa and local support, you also benefit from lower latency and assistance that’s available in your time zone.
Let’s look at how to self host AI agents with OpenClaw VPS on Truehost, from provisioning your server to connecting your preferred messaging channel and sending your first test message.
Table of Contents
What You’ll Need Before You Start
Before provisioning your server, have these ready:
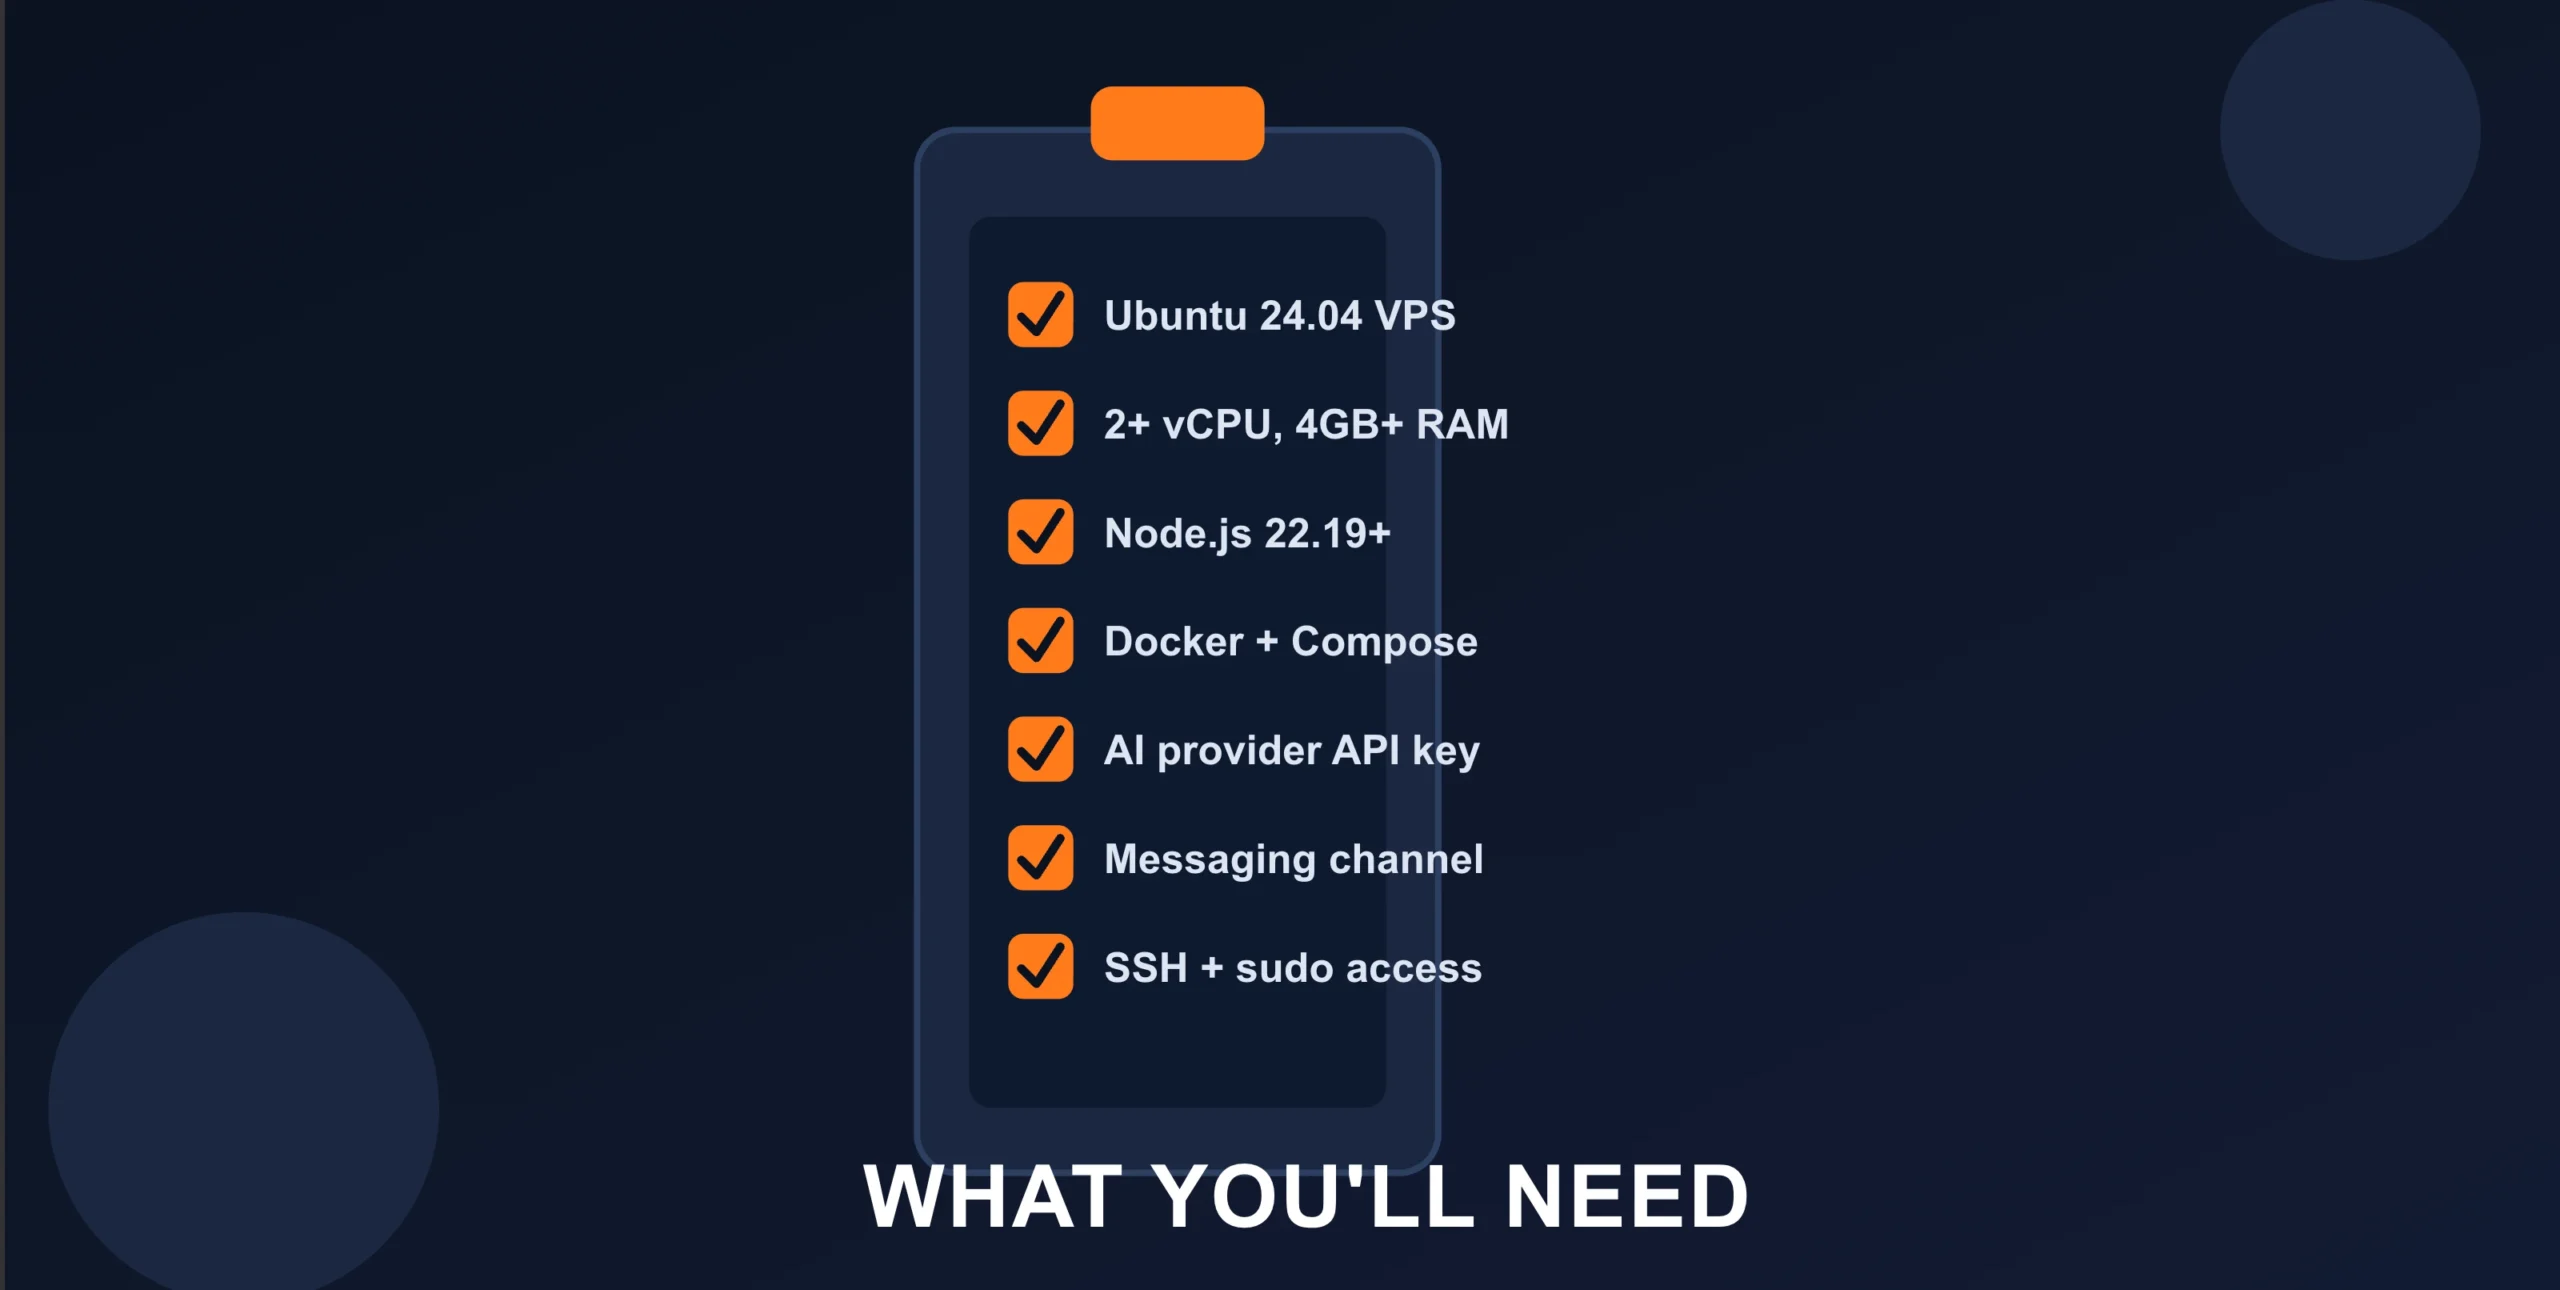
- A Linux VPS running Ubuntu 24.04 with at least 2 vCPUs and 4 GB RAM for development or testing. For production workloads, plan for 4 vCPUs and 8 GB RAM.
- Node.js 24 (or version 22.19+) installed on the VPS.
- Docker and Docker Compose installed – this is the recommended way to run OpenClaw.
- An API key from your chosen AI provider: Anthropic Claude, OpenAI GPT, Google, OpenRouter, or a local model running through Ollama.
- A messaging channel to connect your agent to. Telegram is the easiest starting point on a VPS – it doesn’t need port forwarding.
- SSH access to your VPS with a non-root user that has sudo privileges.
Self-Host OpenClaw on a VPS
Step 1: Choose and Provision Your VPS
Start by selecting a VPS with root access and enough resources for what you’re asking the agent to do.
For most starting setups, Truehost’s NVMe 4 tier – 4 GB DDR5 RAM, 100 GB NVMe SSD – covers basic agent tasks without headroom issues. If you’re planning multi-agent workflows or running several channels simultaneously, go for 8–16 GB RAM.
Deploy an Ubuntu 24.04 instance and keep a note of its public IP address. You’ll need it in the next step.
Step 2: Secure Your Server
Connect to your server over SSH using key-based authentication rather than a password. It’s more secure and avoids brute-force exposure.
Update the system before doing anything else:
sudo apt update && sudo apt upgrade -ySet up a firewall using ufw and install fail2ban for basic intrusion protection. These are small steps that make a real difference if your server is sitting on a public IP.
Step 3: Install Docker and Docker Compose
Docker is how OpenClaw runs on the server. Install it with:
curl -fsSL https://get.docker.com | sudo sh
sudo usermod -aG docker $USER
Log out and back in via SSH for the group change to take effect. Docker Compose v2 is bundled with modern Docker installations, so you won’t need to install it separately.
Step 4: Prepare the Project Directory
Create a dedicated directory for OpenClaw’s data files:
mkdir -p ~/openclaw/data
cd ~/openclaw
Step 5: Create the Docker Compose Configuration
Create your docker-compose.yml file:
nano docker-compose.ymlPaste the following:
services:
  openclaw:
    image: ghcr.io/openclaw/openclaw:latest
    container_name: openclaw-gateway
    restart: always
    ports:
      - "127.0.0.1:18789:18789"
    volumes:
      - ~/openclaw/data:/home/node/.openclaw
    environment:
      - NODE_ENV=production
The 127.0.0.1:18789:18789 binding is intentional. It keeps the gateway accessible only within the VPS – no external access unless you’re tunnelling in over SSH. This matters more than it looks.
Step 6: Launch the OpenClaw Container
Start the agent in detached mode so it keeps running after you close your terminal:
docker compose up -dCheck that it’s running:
docker compose logs openclaw-gatewayYou’re looking for this line in the output: [gateway] listening on ws://0.0.0.0:18789. That confirms the agent is up.
Step 7: Set Up an SSH Tunnel for Secure Access
The gateway is bound to localhost on the server, so you access it by tunnelling your local port through SSH.
On your local machine, run:
ssh -L 18789:127.0.0.1:18789 user@YOUR_VPS_IPKeep that terminal window open for the session. Then, on the VPS, retrieve your gateway token:
cat ~/openclaw/data/openclaw.json | grep '"token":'Open your browser and go to http://127.0.0.1:18789. If the interface shows as disconnected, pass the token directly in the URL: http://127.0.0.1:18789/?token=YOUR_TOKEN.
Step 8: Run the Onboarding Wizard
The Onboarding Wizard launches automatically the first time you access the interface. It walks you through the following:
- Security acknowledgment – best practices for running AI agents
- Model provider setup – select your provider (Anthropic, OpenAI, Google, OpenRouter, etc.) and enter your API key
- Channel configuration – choose messaging platforms and enter the required tokens
- Channel allowlists – configure which channels or users can interact with the bot
- Skills setup – enable optional capabilities like web search and image generation
Work through each section in order. Don’t skip the channel allowlist step – controlling who can talk to your bot matters, especially if you’re connecting WhatsApp or a public-facing channel.
Step 9: Connect Your First Messaging Channel
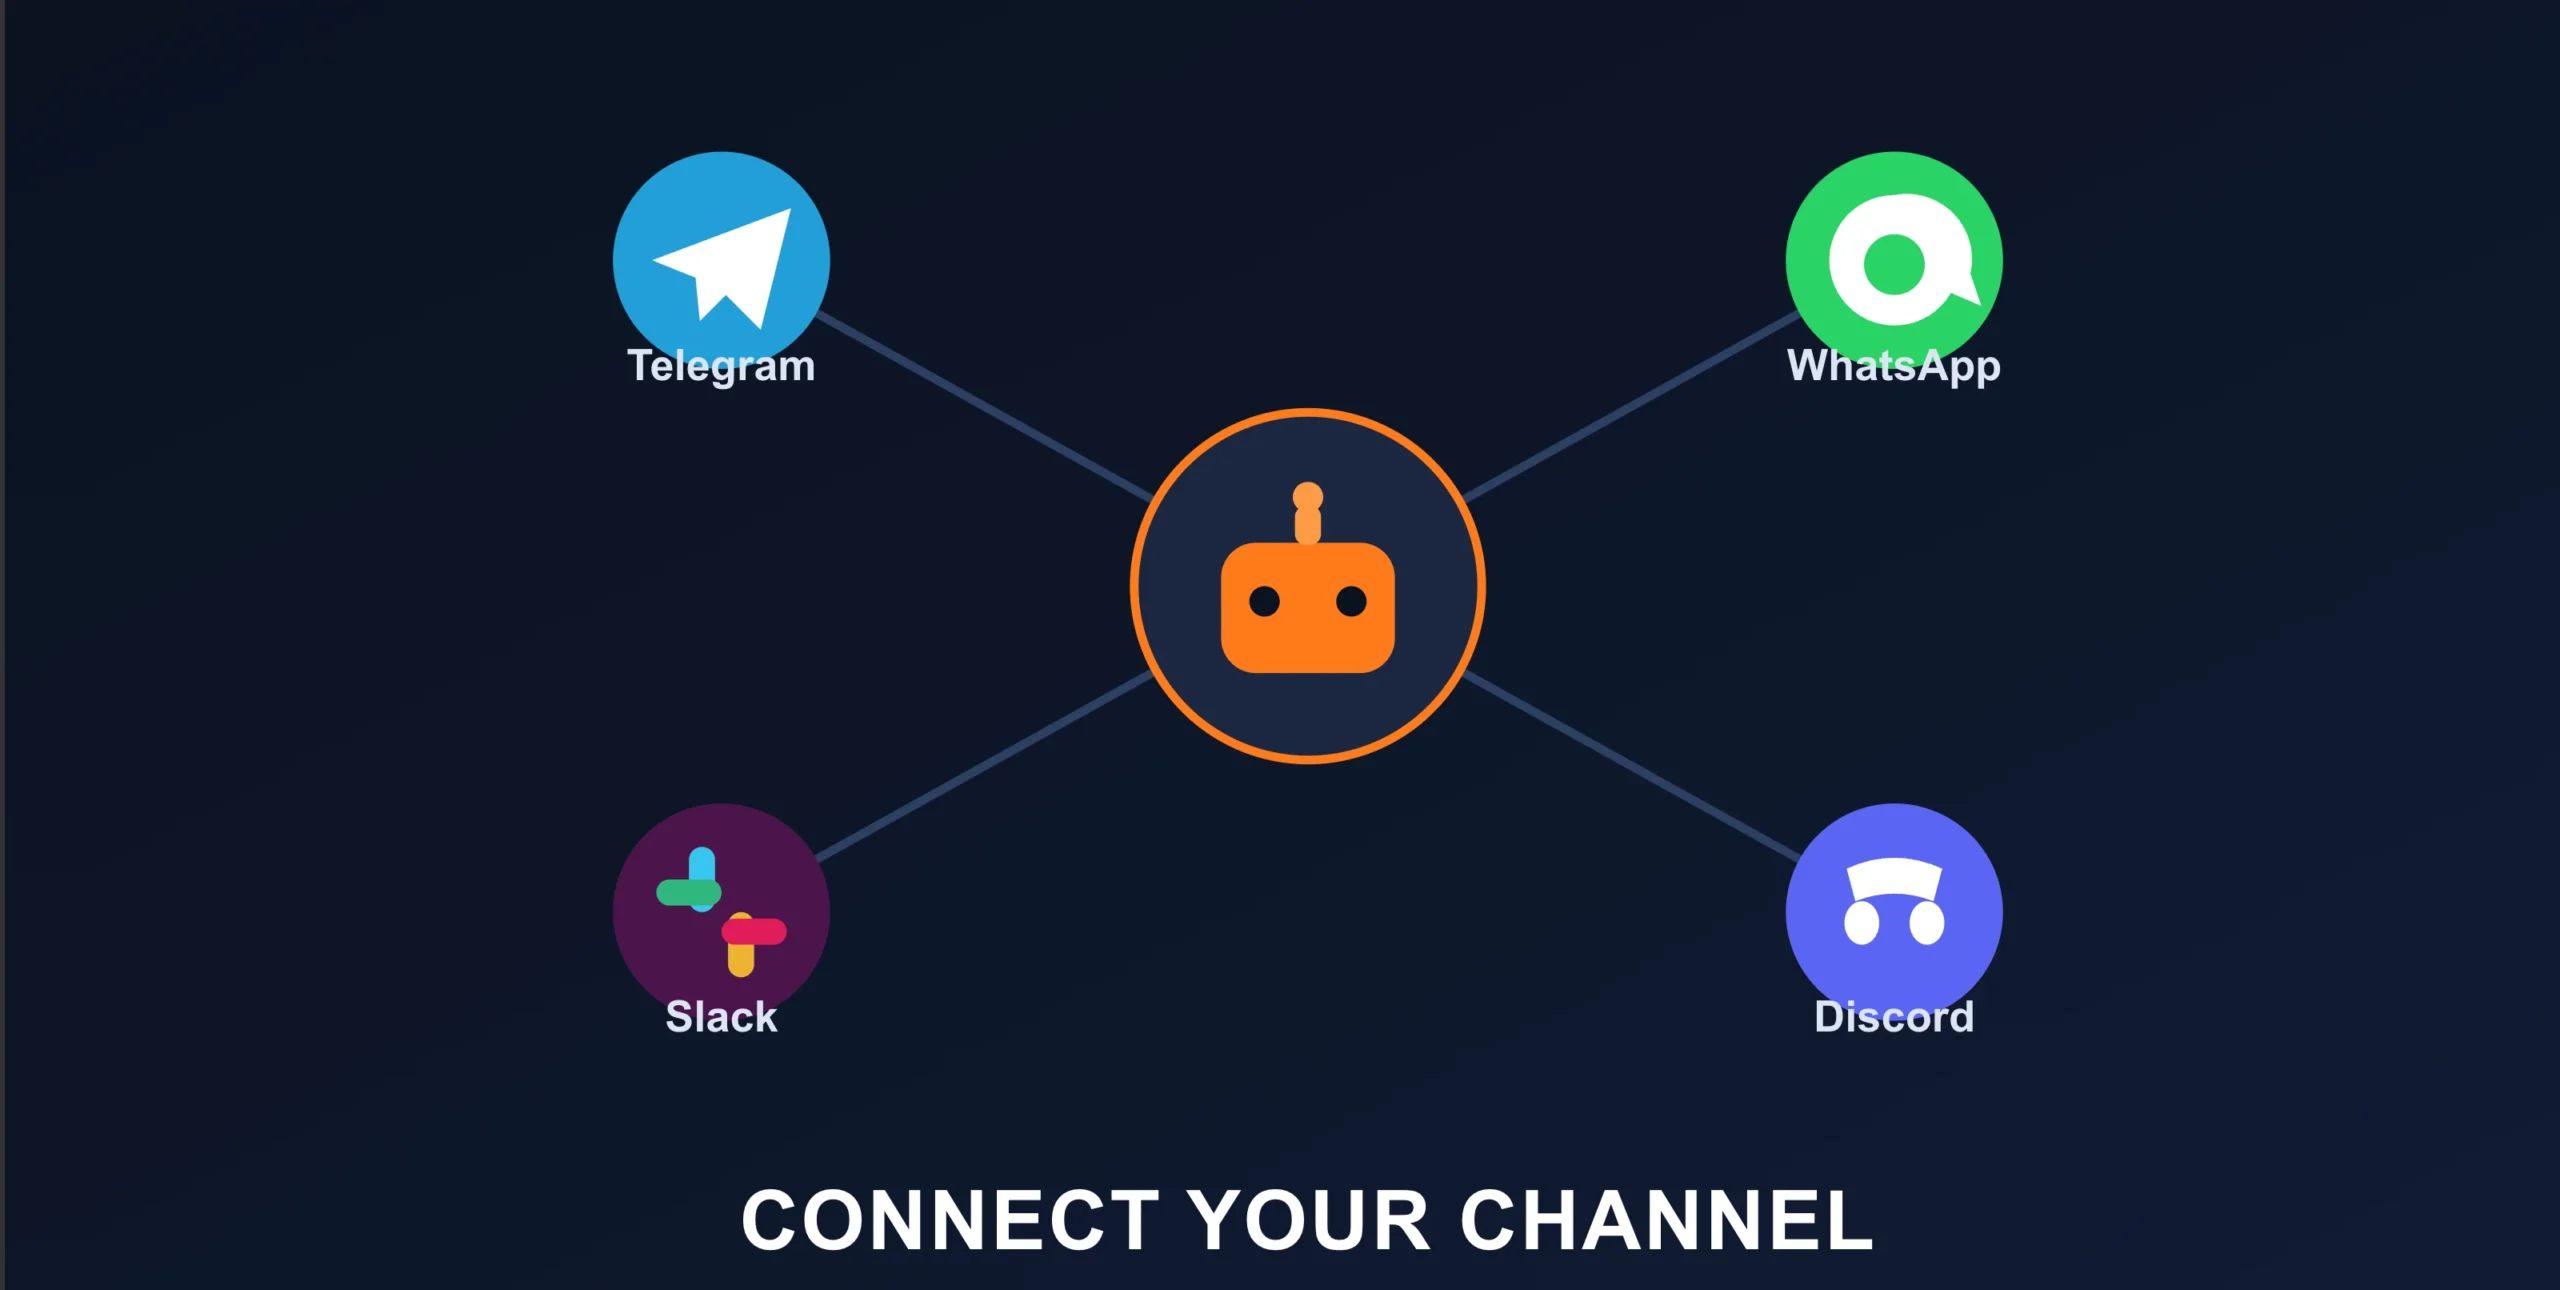
Telegram is the right starting point. It’s the simplest channel to configure on a VPS and doesn’t need any port forwarding.
Here’s how to set it up:
- Message
@BotFatheron Telegram to create a new bot. Copy the bot token it gives you. - Message
@userinfobotto find your own Telegram user ID. - During onboarding, enter the bot token and your user ID. The user ID restricts who can talk to your bot – only accounts you specify.
For WhatsApp, Slack, or Discord, follow the platform-specific token generation steps inside the onboarding wizard. Each has its own flow, and the wizard walks you through each one.
Step 10: Test Your Agent
Send a message to your bot through whichever channel you connected. You should get a reply within a few seconds.
You can also test it directly from the VPS command line:
docker compose exec openclaw openclaw message send --target +1234567890 --message "Hello from OpenClaw"
If something isn’t working, check the logs:
docker compose logs openclaw-gateway --tail 50
Most first-run issues show up clearly in the log output – a misconfigured token, a missing API key, or a channel that didn’t complete setup.
Step 11: (Optional) Integrate with n8n for Advanced Automation
If you’re building workflows that go beyond what OpenClaw handles natively, n8n is a strong pairing.
The two work as a hybrid automation stack: OpenClaw handles AI reasoning, natural language, and channel management, while n8n brings 400+ integration nodes and visual workflow building for deterministic automation steps.
The OpenClaw + n8n Docker stack pre-configures both tools together.
This setup is particularly useful for separating tasks where AI judgment is needed from tasks where exact, repeatable logic is required – reducing the risk of AI hallucination while keeping automation speed high.
Self-Host AI Agents with OpenClaw VPS: FAQs
Do I need coding experience to self-host an OpenClaw agent?
No. The SSH connection is the most hands-on part of the process, and that’s just running a single command in a terminal. Everything else – connecting your AI model, setting up channels, enabling skills – happens through the dashboard without any code involved.
Which plan should I start with – KVM1 or KVM2?
Start with KVM1 if you’re testing or running a single agent with one or two channels. Move to KVM2 once you’re running active automations across multiple channels or notice that response times are slowing down under load.
Can I switch AI models later without starting over?
Yes. OpenClaw is model-agnostic. You can switch from OpenAI to Anthropic Claude, Google Gemini, or a local model through Ollama at any point without redeploying the server.
What is the cheapest OpenClaw VPS?
Truehost’s KVM1 plan is the lowest-cost entry point. It comes with OpenClaw pre-installed and is sufficient for testing and single-agent setups. Current pricing is on our OpenClaw Hosting page.
What’s Next After Self-Hosting Your AI Agent
Once the setup is done, the day-to-day change is subtle at first.
Your agent is just there – replying on Telegram while you’re in a meeting, running a task while you sleep, staying online when your laptop isn’t. That reliability is the thing you’ll notice most.
The temptation after setup is to add everything at once. Resist that.
Start with one or two skills and one connected channel. Let the agent run for a week and pay attention to how it behaves.
Add the next skill when you feel the gap it fills, not because it’s available.
Once the basics are settled, you can expand: connect WhatsApp for customer-facing use, wire up n8n for multi-step workflows, or add skills for specific tasks like web research or scheduling.
If you’re ready to get this running on a server that stays online 24/7, take a look at our OpenClaw VPS Hosting plans.
Both KVM1 and KVM2 come pre-configured – you skip the setup overhead and go straight to connecting your agent.