 Web Hosting
 Windows HostingBuilt for Windows apps and websites – stability, speed and flexibility
 Reseller HostingLaunch a hosting business without technical skills or expensive infrastructure
 Affiliate ProgramRefer customers and earn commissions from sales across our platform
 Domain SearchFind and secure a domain name in seconds with our quick lookup tool
 CO ZA Domains
 All DomainsExplore domain names from over 324 TLDs globally – all in one place
 Free Whois Lookup Tool South Africa
 VPS
VPS Website Builder
 Online ShopSet up a sleek eCommerce store with zero coding knowledge
 SSLs
SSLs SupportAccess help articles, how-tos, and everything about our services
 Blog
Blog Contact UsReach our team instantly via live chat or drop us an email
You just paid for a dedicated server in South Africa. An email arrives with an IP address, a root password, and a control panel link. Now you stare at a blank terminal with no clear idea what comes next.
Skip the wrong step here, and the cost is real. New server owners often get compromised within the first week. This happens when nobody sets a strong password or closes off root access in time.
Others spend three days on a support ticket for something that takes ten minutes once you know the right order.
This guide gives you that order. It covers the exact first-hour-to-first-week sequence for a dedicated server in South Africa. Every step below fits local providers, local data centers, and rules like POPIA.
Table of Contents
What Happens Right After You Buy a Dedicated Server in South Africa
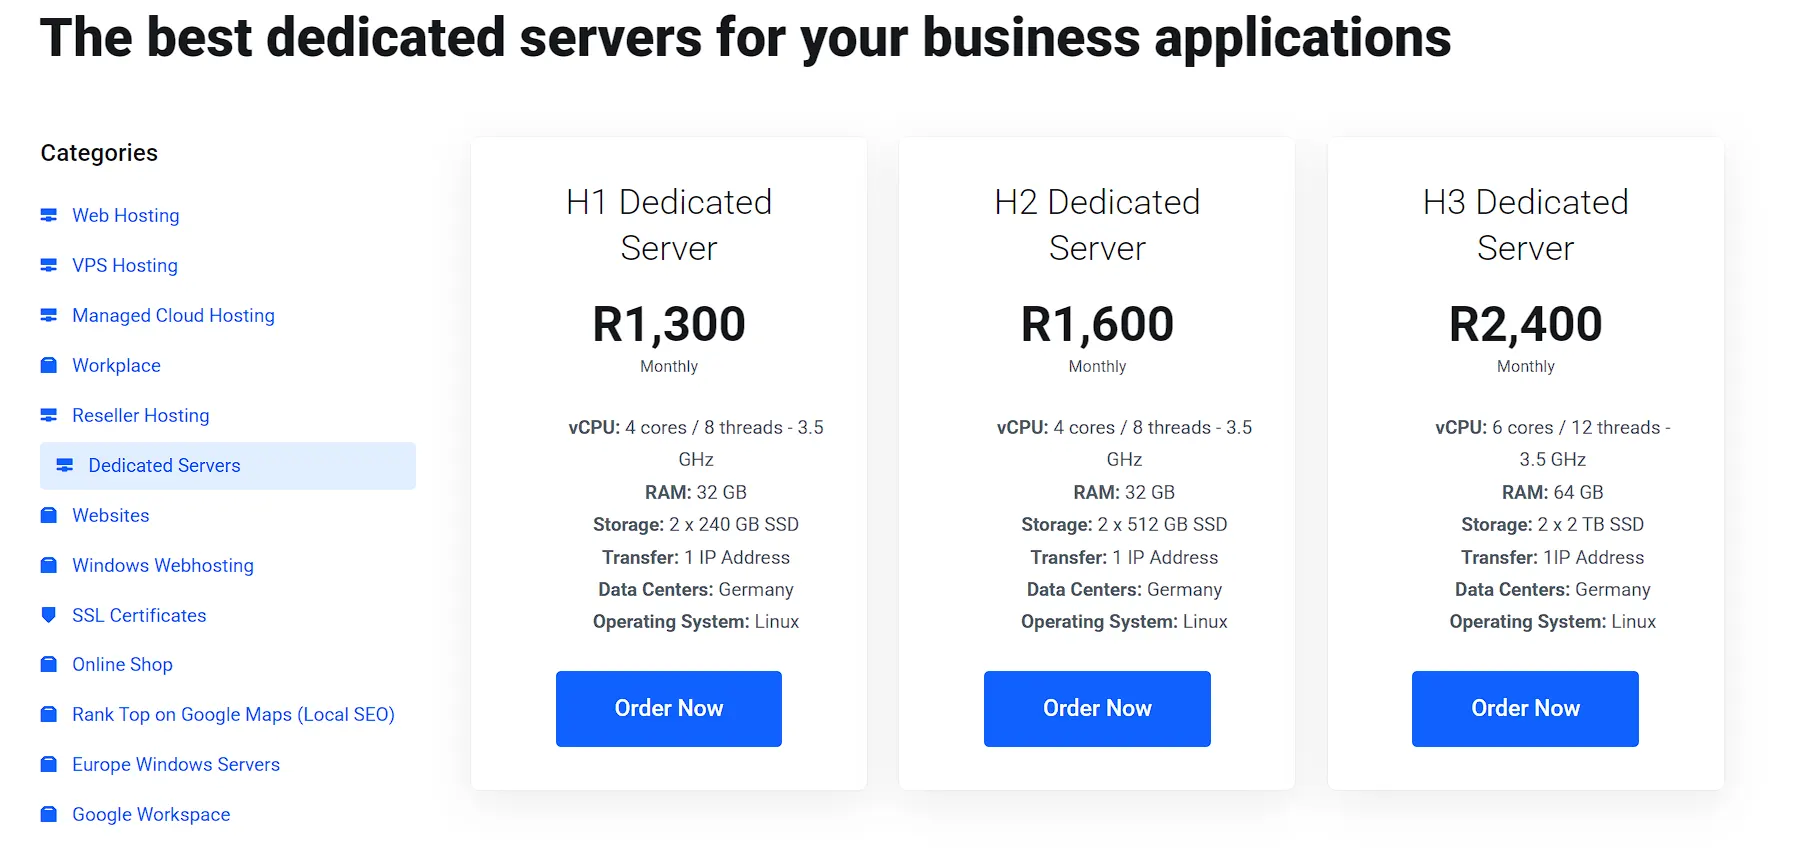
Your provisioning email holds four things worth saving right away. These are your IP address, root credentials, a control panel link, and rescue or ISO access details.
Store these somewhere secure, not in a plain text file on your desktop.
Custom hardware builds can take longer to provision, so check your order confirmation for the exact estimate.
Once your server is live, run three quick checks before anything else:
- Confirm the IP address resolves and responds to a ping.
- Log in with the root credentials to confirm they work.
- Check that the operating system matches what you actually ordered.
If setup runs past the promised window, do not just wait. Contact your provider’s support team directly and ask for a status update.
A short delay is normal, but silence after 24 hours is worth chasing up.
How to Connect to Your Dedicated Server for the First Time
1) Connecting via SSH (Linux servers)
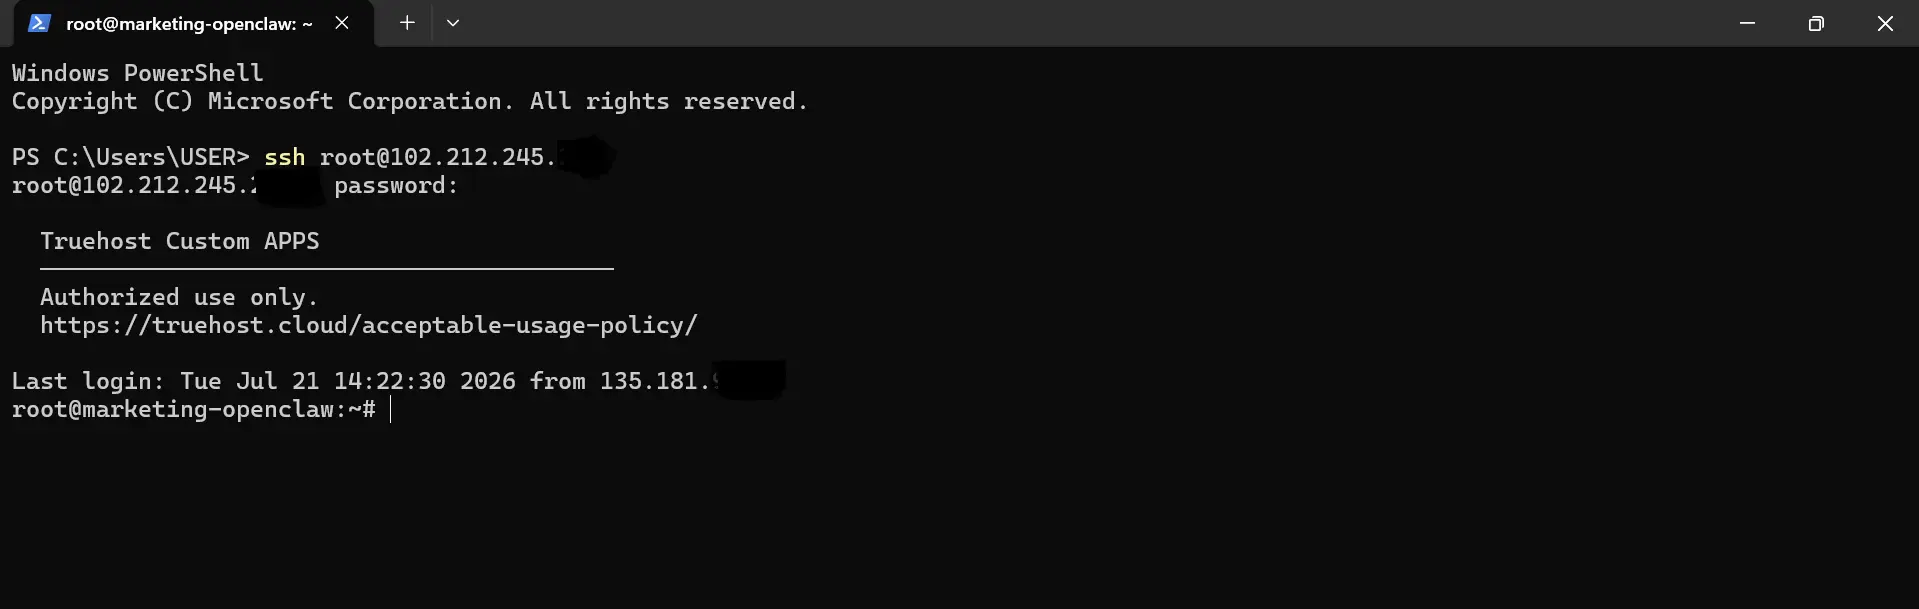
Open a terminal on your own machine, or use PuTTY on Windows. Type ssh root@your-server-ip and enter the password from your provisioning email.
This first login confirms your server is reachable and your credentials work.
A password alone should never be your long-term login method. Passwords get guessed, phished, or brute-forced eventually.
Generate an SSH key pair on your own machine before you touch anything else on the server.
Run ssh-keygen locally, then copy the public key to the server with ssh-copy-id root@your-server-ip.
Test the new key-based login from a second terminal window. Keep your first session open until the new one confirms it works, so you avoid a lockout.
2) Connecting via RDP (Windows servers)
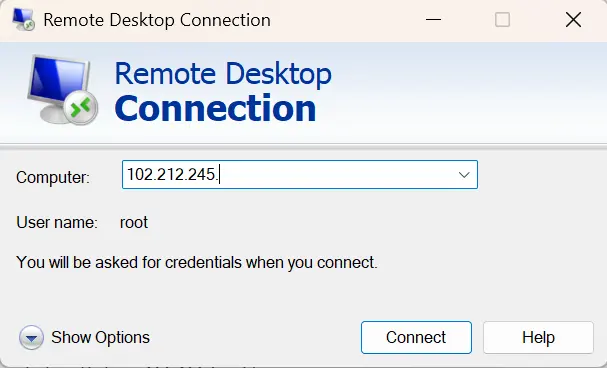
Open Remote Desktop Connection and enter your server’s IP address and port. Windows Server listens on port 3389 by default for RDP traffic.
Enter the administrator credentials from your provisioning email to log in.
If the connection fails, check your local firewall settings first. Confirm the provider hasn’t restricted RDP access to specific IP ranges.
A mismatched username or expired credentials also causes most first-login failures.
Rename the default administrator account once you’re logged in. Attackers constantly scan for that default name, so a rename removes an easy target.
Choosing and Confirming Your Operating System
Most South African hosting workloads run well on Ubuntu, AlmaLinux, Rocky Linux, or Debian.
Ubuntu is well-suited for general web hosting and app development, with a wide community support. AlmaLinux and Rocky Linux fit teams that need a stable, long-term release cycle.
Windows Server makes sense if your stack depends on .NET, MSSQL, or specific Windows-only software. It also fits teams whose in-house staff feel more comfortable with a Windows environment than Linux.
If the default build doesn’t match your plan, most providers offer a rescue mode or ISO mount tool. Use this to reinstall the correct operating system before you configure anything further.
Match your OS choice to what you’re actually running, not to whichever option sounds stronger.
Lock Down Security Before You Install Anything Else
Security comes before any application, website, or database install. Follow this order and skip nothing, even if it feels slow at first.
- Create a new user with sudo privileges and log in through it to confirm it works.
- Disable root login over SSH once the new user is confirmed working.
- Switch to SSH key authentication and turn off password logins entirely.
- Set up a firewall with a default-deny rule using UFW or Firewalld.
- Open only the specific ports your applications need, and nothing extra.
- Install fail2ban to automatically block repeated failed login attempts.
- Turn on automatic security updates so patches apply without manual work.
Each of these steps closes a common attack path. Together, they cover most of the ways new servers get compromised in their first month.
Configure Networking and Point Your Domain
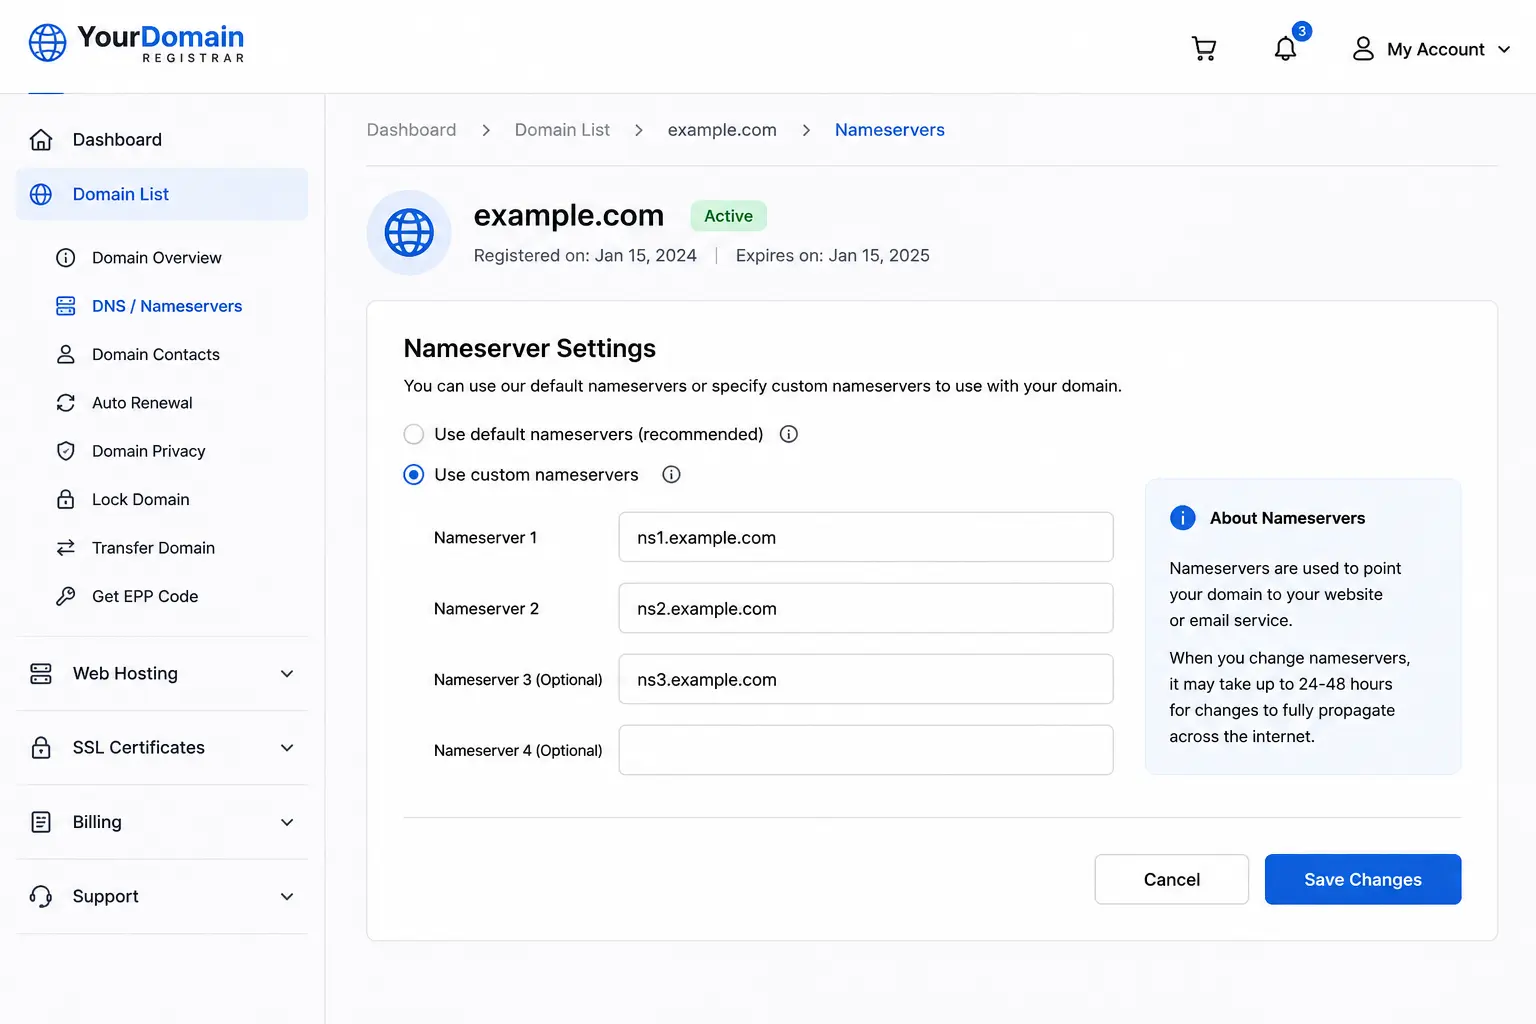
Write down every dedicated IP address your provider assigned to your server. This list helps later when you’re troubleshooting a connection issue or adding services.
Log in to your domain registrar and update the A record to match your server’s new IP.
Add an AAAA record too if your provider assigned an IPv6 address. This step connects your domain name to the physical server behind it.
Set up reverse DNS (rDNS) for your server’s IP address. Without it, outbound email from your server often ends up in spam folders rather than in inboxes.
Most South African providers let you configure rDNS directly through their control panel.
Request an additional IP subnet if your project needs more than one address.
Once your DNS changes are live, check propagation with a free online DNS lookup tool. Confirm it before telling anyone your site is ready.
Set Up a Control Panel, or Decide to Skip One
cPanel and WHM offer a familiar interface for teams managing multiple client sites.
Plesk works well for mixed Windows and Linux environments. Free panels like CWP or Froxlor cut licensing costs but ask more from whoever manages them.
A control panel license adds a recurring monthly cost in Rand. Weigh that cost against how much time it saves your team.
If you’re comfortable with the command line and running a single application, skip the panel.
An unmanaged, CLI-only setup keeps your monthly bill lower and your server footprint smaller.
Back Up Your Server Before You Go Live
Set up an automated backup schedule from day one. Waiting until after a scare almost always costs more than setting it up early.
Run one full test restore before you launch anything public. A backup that has never been tested is a backup you cannot trust.
Store your backups somewhere other than the server itself, whether that’s separate storage or a provider’s backup service.
Decide between full snapshots and file-level backups based on your recovery needs. Snapshots restore an entire server state quickly.
File-level backups give you more control over restoring individual files without a full rebuild.
South Africa Specific Considerations for Dedicated Hosting
POPIA governs how businesses handle personal data belonging to South African customers. If your server stores names, emails, or payment details, POPIA obligations apply directly to you.
Local hosting in Johannesburg or Cape Town helps meet these obligations by keeping data within South Africa’s borders.
Local data centers also cut latency for a South African user base compared to hosting overseas. A site or app hosted closer to its users loads faster and feels more responsive.
Most South African providers support local payment methods like EFT, Snapscan, and card payments in Rand.
Check your provider’s billing cycle options before you commit to a longer contract term.
Managed vs Unmanaged: Which Fits Your Team
Your choice here depends on three things: in-house skill, budget, and how much downtime your business can absorb.
A team with a dedicated sysadmin can usually handle unmanaged hosting well. A team without that skill set often benefits more from managed support.
Managed dedicated hosting in South Africa typically covers OS updates, security patching, and monitoring.
Some providers extend this to application-level support, though pricing varies by plan.
Unmanaged hosting costs less month-to-month, but puts every task on your team.
Hybrid setups exist, too, where the provider manages the OS while your team handles the application layer.
FAQs
How long does dedicated server setup take in South Africa?
Most South African providers finish standard configurations within a day of purchase. Some finish in a few hours for simple builds. Custom hardware orders can take longer, so always confirm the timeline at checkout.
Do I need technical skills to manage a dedicated server myself?
Yes, at least basic command-line comfort helps for unmanaged hosting. You’ll need to handle updates, security patches, and troubleshooting on your own. Managed hosting removes most of this requirement if you’d rather not build that skill.
Is dedicated hosting POPIA compliant?
Dedicated hosting itself is neutral under POPIA, but how you configure it makes the difference. Hosting your data locally in South Africa supports compliance more than an overseas alternative. You still need proper access controls and data handling practices on top of local hosting.
What happens if my server’s operating system becomes unresponsive after setup?
Most South African providers offer a rescue mode or recovery console for this exact situation. You can boot into rescue mode, access your files, and repair or reinstall the OS. Contact your provider’s support team if rescue mode doesn’t resolve the issue.
Getting Your Server Production Ready
Setting up a dedicated server comes down to a clear sequence. Access it safely, secure it fully, configure your network, back it up, then go live. Skip a step, and you’ll likely pay for it later, usually at the worst time.
If you’d rather skip the manual work, Truehost’s technical team in South Africa can help. Book a free setup consultation and get your server production-ready without touching a single command line yourself.