 Web Hosting
 Windows HostingBuilt for Windows apps and websites – stability, speed and flexibility
 Reseller HostingLaunch a hosting business without technical skills or expensive infrastructure
 Affiliate ProgramRefer customers and earn commissions from sales across our platform
 Domain SearchFind and secure a domain name in seconds with our quick lookup tool
 All DomainsExplore domain names from over 324 TLDs globally – all in one place
 Free Whois Lookup Tool South Africa
 VPS
VPS SSLs
SSLsOpenClaw crossed 381,000 GitHub stars in June 2026, faster than React and faster than Linux did.
Andrej Karpathy called its Moltbook experiment “genuinely the most incredible sci-fi takeoff-adjacent thing I have seen recently.” That kind of endorsement doesn’t happen by accident.
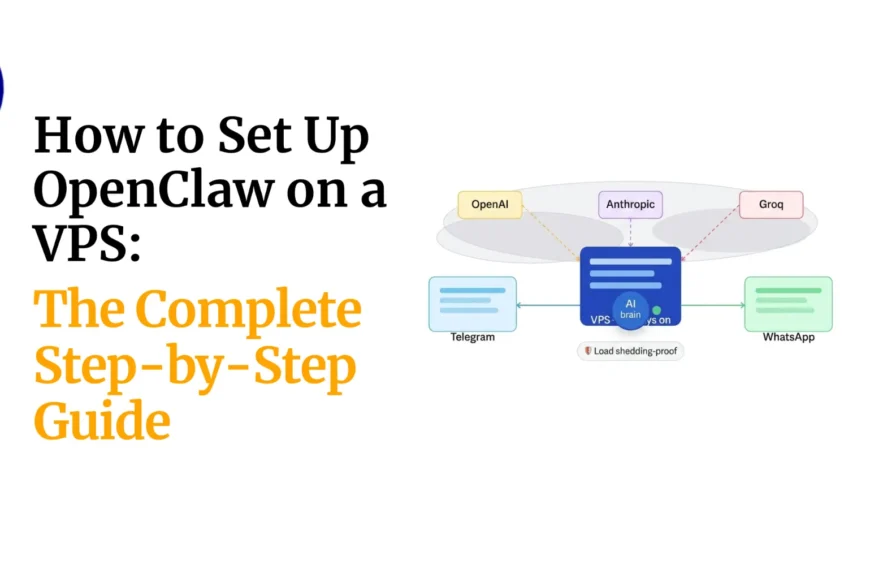
OpenClaw is an autonomous AI agent that does the work. You send it a task it breaks it down, executes it, and reports back.
Most developers self-host it on offshore VPS servers in the US or EU. That means 80–200ms latency, USD billing, and your API keys sitting on foreign infrastructure.

For SA developers managing ZAR budgets, that’s an unnecessary cost and a real security concern.
Debian solves the OS side. It’s stable, production-grade, and built for long-running server workloads.
Debian 12 (Bookworm) is the recommended version, and this guide is written specifically for installing OpenClaw on Debian.
We at Truehost also offer OpenClaw Hosting from R285/month, pre-configured, SSL-ready, ZAR billing, local SA infrastructure.
If you’d rather skip the manual setup, that option is here. Otherwise, let’s build it ourselves.

By the end of this guide, you’ll have a fully running OpenClaw agent on Debian connected to your LLM, secured with SSL, and set to survive a reboot.
Table of Contents
Step 1: Prerequisites
Supported Debian versions
Debian 11 (Bullseye) is supported, but Debian 12 (Bookworm) is what we recommend. It ships with a newer kernel, better systemd handling, and cleaner compatibility with NodeSource packages.
System requirements
| Resource | Minimum | Recommended |
|---|---|---|
| CPU | 1 core | 2+ cores |
| RAM | 1 GB | 4–8 GB |
| Disk | 500 MB | 20 GB+ |
| OS | Debian 11+ | Debian 12 |
One important note: the OpenClaw team and the community both confirm that 512 MB RAM plans will OOM-kill the process on startup. 1 GB is the absolute floor. 2 GB is the true comfortable minimum for a stable single-channel setup.
Other requirements
sudoor root access on your server- A domain name pointed to your server IP
- At least one LLM API key (OpenAI, Anthropic, Google Gemini, etc.)

If you don’t have a domain yet, we at Truehost offer .co.za domain registration easy to pair with your VPS and kept under one dashboard.
Read also: 9 Best VPS Providers for OpenClaw
Step 2: Updating Your Debian System
Never skip this step. Running OpenClaw on an outdated system is asking for version conflicts and security vulnerabilities. Packages like curl, ca-certificates, and apt-transport-https need to be current before NodeSource will install correctly.
Run these commands:
sudo apt update && sudo apt upgrade -y
sudo apt autoremove -y
The first command fetches updates and applies them. The second cleans up packages you no longer need.
SA-specific tip: If your VPS has experienced load shedding-related downtime, run this after setup is complete:
sudo systemctl enable openclaw
This ensures OpenClaw auto-restarts after any power interruption. We’ll come back to this in the service management section.
Step 3: Installing Node.js
OpenClaw requires Node.js 22.14 at minimum. Node 24 is recommended and gives you the best stability and performance.
First, check if you already have Node installed:
node --version
If you get command not found, or your version is below 22.14, install via NodeSource:
curl -fsSL https://deb.nodesource.com/setup_24.x | sudo -E bash -
sudo apt-get install -y nodejs
Then verify:
node --version
npm --version
You should see v24.x.x if Node and a recent npm version. If you see anything below 22.14, the OpenClaw installer will block with a fatal error, so confirm this before moving on.
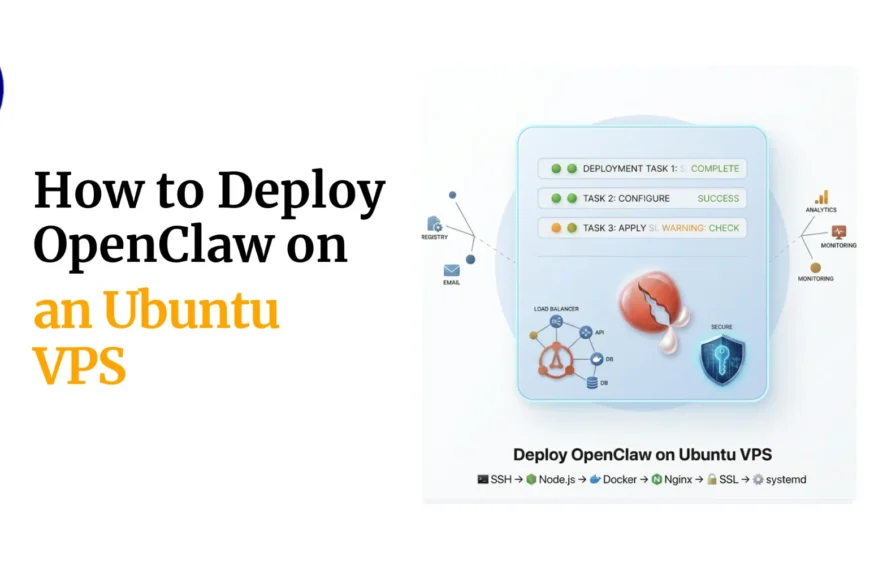
Check our guide on how to deploy OpenClaw on an Ubuntu VPS
Step 4: Installing OpenClaw
You have two options here. Both work on Debian. Choose based on your preference.
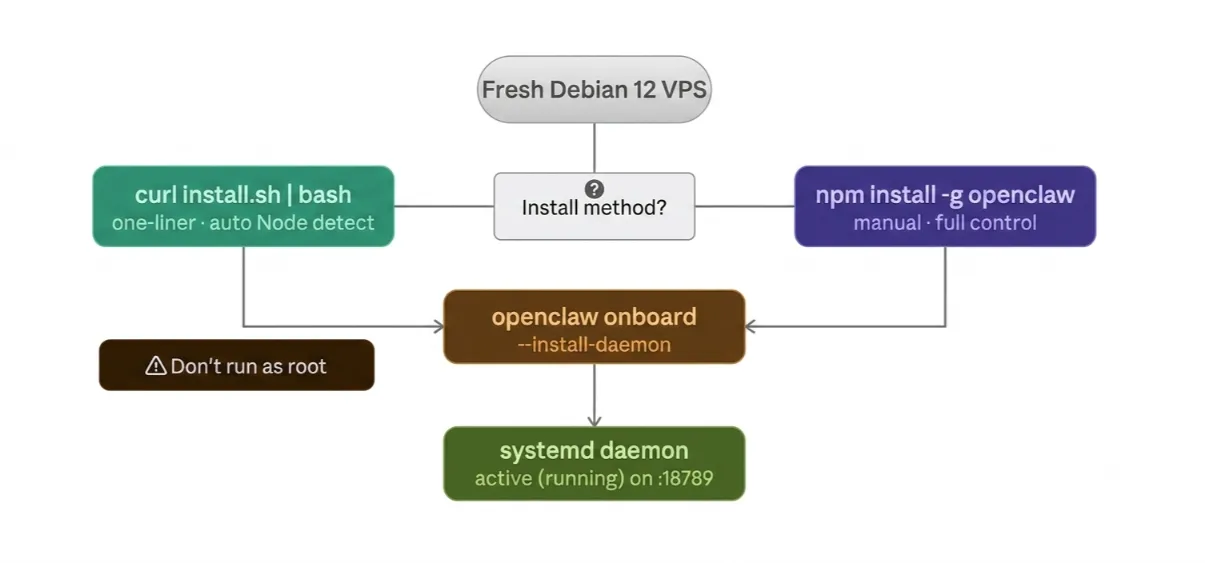
Option A: One-line installer (recommended for most users)
curl -fsSL https://openclaw.ai/install.sh | bash
This script detects your OS, installs OpenClaw, and launches the onboarding wizard automatically. It’s the fastest path.
Important: Do not run this as root. If you’re on a root-only VPS, create a dedicated user first:
adduser openclaw-user
usermod -aG sudo openclaw-user
su - openclaw-user
Then run the installer as that user.
Option B: Manual npm install
npm install -g openclaw@latest
openclaw onboard --install-daemon
The --install-daemon flag is critical. Without it, OpenClaw won’t register as a background service. You’d have to manually start it every time you SSH in.
With the flag, it registers as a systemd service that starts on boot and keeps running.
Verify the service is running
sudo systemctl status openclaw
You should see active (running) in the output.
The dashboard is accessible at http://localhost:18789. Your workspace lives at ~/.openclaw.
Read also: Top OpenClaw AI Assistant Capabilities
Step 5: Connecting Your LLM
OpenClaw supports a wide range of providers:
- OpenAI (GPT-4o, GPT-4.1)
- Anthropic (Claude Opus 4, Claude Sonnet)
- Google Gemini
- Mistral
- Groq
- Local models via Ollama
You can connect your API key during the onboarding wizard (the interactive prompt that runs after install). Or you can add it directly to the config file:
nano ~/.openclaw/config.yaml
Look for the provider and api_key fields and set them:
provider: openai
api_key: sk-xxxxxxxxxxxxxxxxxxxx
Switching LLMs later doesn’t require a reinstall. Just update those two fields in the config and restart the service:
sudo systemctl restart openclaw
If you’re watching your ZAR spend on API costs, Ollama lets you run local open-source models (like Llama 3 or Mistral 7B) at zero API cost. The trade-off is RAM usage you’ll want at least 8 GB for local inference. For personal projects or testing, it’s a solid way to keep costs down.
Step 6: Initial Configuration
Config file location
All OpenClaw settings live at:
~/.openclaw/config.yaml
Main settings to know
- port defaults to
18789. Change this if you have port conflicts. - workspace directory where your agent stores memory and skills.
- Permissions fix if you see permission errors, run:
sudo chown -R $USER:$USER ~/.openclaw
Connecting a domain + SSL with Nginx
To make your OpenClaw dashboard accessible via a domain (not just localhost), set up an Nginx reverse proxy.
Install Nginx:
sudo apt install nginx -y
Create a server block at /etc/nginx/sites-available/openclaw:
server {
    listen 80;
    server_name yourdomain.co.za;

    location / {
        proxy_pass http://localhost:18789;
        proxy_http_version 1.1;
        proxy_set_header Upgrade $http_upgrade;
        proxy_set_header Connection 'upgrade';
        proxy_set_header Host $host;
        proxy_cache_bypass $http_upgrade;
    }
}
Enable the site and reload Nginx:
sudo ln -s /etc/nginx/sites-available/openclaw /etc/nginx/sites-enabled/
sudo nginx -t
sudo systemctl reload nginx
SSL with Certbot
sudo apt install certbot python3-certbot-nginx -y
sudo certbot --nginx -d yourdomain.co.za
Certbot will automatically configure HTTPS and set up auto-renewal.
On our Truehost OpenClaw Hosting plans, SSL is pre-configured. You don’t touch Certbot at all, it’s handled for you at the infrastructure level.
Step 7: Advanced Configuration (Optional)
Plugin registry
You can extend OpenClaw’s capabilities with skills from ClawHub:

openclaw skills install <skill-slug>
Browse available skills and check the VirusTotal scan on each listing before installing. After the ClawHavoc incident in early 2026, where 341 malicious skills were discovered, the marketplace added author verification and code signing. It’s safer now, but treat every skill like code you’re responsible for.
Firewall hardening with UFW
sudo ufw default deny incoming
sudo ufw allow ssh
sudo ufw allow 80
sudo ufw allow 443
sudo ufw enable
Never expose port 18789 publicly. Bind it to localhost only. If you need remote dashboard access, use an SSH tunnel instead.
Security note
If you’re running an older install, check your version. As of v2026.1.29, the auth: none option was removed. Always set a secure access token in your config. Running OpenClaw without auth on an internet-facing server is a serious risk.
Logging config
In ~/.openclaw/config.yaml, you can set your log level:
logging:
  level: info  # options: debug | info | warn | error
Use debug when troubleshooting. Switch to info or warn for production to keep log files manageable.
Performance tuning
For VPS plans with limited RAM, add this to your systemd service file to cap Node’s memory usage:
Environment=NODE_OPTIONS=--max-old-space-size=2048
This tells Node to use a maximum of 2 GB of heap memory, preventing runaway memory usage.
Managing the OpenClaw Service
Here are the systemd commands you’ll use regularly:
# Start the service
sudo systemctl start openclaw

# Stop the service
sudo systemctl stop openclaw

# Restart the service
sudo systemctl restart openclaw

# Enable on boot (auto-start after reboot)
sudo systemctl enable openclaw

# Check status
sudo systemctl status openclaw
Load shedding resilience note: Running
sudo systemctl enable openclawis the single most important command for SA developers. When power comes back after an interruption, your VPS will reboot, and OpenClaw will come back up automatically without you having to SSH in and restart anything manually.
Troubleshooting
Port 18789 already in use
Another process is using the port. Find it with sudo lsof -i :18789 and either stop that process or change OpenClaw’s port in config.yaml.
Node.js version too low
You’ll get a fatal error at startup. Run node --version. If it’s below 22.14, reinstall using the NodeSource script in Step 3.
Permission errors
Run sudo chown -R $USER:$USER ~/.openclaw. This fixes most ownership issues on the workspace and config directory.
Service won’t start
Check the logs:
journalctl -u openclaw -f
This streams live logs and usually makes the error obvious within a few lines.
Can’t access dashboard remotely
Don’t expose port 18789 publicly. Instead, use an SSH tunnel:
ssh -L 18789:localhost:18789 user@your-server-ip
Then open http://localhost:18789 in your local browser.
Firewall blocking connections
Check UFW status with sudo ufw status. Make sure ports 80 and 443 are open. Confirm Nginx is running with sudo systemctl status nginx.
Config changes not applied after edit
You must restart the service after any config change:
sudo systemctl restart openclaw
Configure OpenClaw on Debian FAQs
How do I check if it’s running on Debian?
Run sudo systemctl status openclaw. Look for active (running) in the output.
Where does it store its config on Debian?
All config lives at ~/.openclaw/config.yaml. The workspace (memory, skills, logs) is also inside ~/.openclaw.
How do I check if OpenClaw is installed?
Run openclaw --version. If you get a version string back, it’s installed. If you get command not found, it’s not.
What does the install script do?
It detects your OS, checks your Node.js version, installs Node 24 if needed via NodeSource, installs OpenClaw via npm, and launches the onboarding wizard. It also registers the gateway as a systemd daemon when you use --install-daemon.
How do I re-run the onboarding wizard?
openclaw onboardThis lets you reconfigure your LLM provider, API keys, workspace, and channels without a full reinstall.
How do I connect Lark (or other channels) to OpenClaw?
During onboarding, select your channel and follow the prompts. For Lark specifically, you’ll need a Lark bot token from the Lark Developer Console. Paste it when prompted and approve the pairing code. You can also add channels post-onboarding by editing ~/.openclaw/config.yaml and restarting the service.
Why Truehost Is the Best Home for Your OpenClaw Agent
Going through every step above on a generic offshore VPS takes time, typically 30 to 90 minutes, and you’re on your own if something breaks. You’re also billing in USD, dealing with higher latency, and configuring SSL manually.
We at Truehost built our OpenClaw Hosting for SA developers who want to skip the setup friction and get to the work that is important.
| Feature | Generic VPS | Truehost OpenClaw Hosting |
|---|---|---|
| Node.js setup | Manual | Pre-configured |
| SSL | Certbot DIY | Free, auto-connected |
| Latency (SA region) | 80–200ms (offshore) | Low latency, local infrastructure |
| Deploy time | 30–90 min | ~60 seconds |
| Human support | Ticket / forum | Fast response |
| Money-back | Varies | 30 days |
| Billing | USD | ZAR |
| Plans | Custom | KVM1 @ R285/mo · KVM2 @ R380/mo |
Our plans
KVM1 R285/month
- 1 vCPU, 2 GB RAM, 50 GB NVMe, 4 TB bandwidth
- Good for personal use, testing, or a single-channel assistant
KVM2 R380/month
- 2 vCPU, 4 GB RAM, 100 GB NVMe, 8 TB bandwidth
- Recommended for production deployments, business workflows, and multi-channel setups
Both plans come with OpenClaw pre-installed, Node 24 pre-configured, SSL auto-connected, and ZAR billing with no USD conversion, no surprise charges.
If you’ve read this far and the manual setup feels like a lot, it’s because it is. There’s a reason we built a simpler path.