 Web Hosting
 Windows HostingBuilt for Windows apps and websites – stability, speed and flexibility
 Reseller HostingLaunch a hosting business without technical skills or expensive infrastructure
 Affiliate ProgramRefer customers and earn commissions from sales across our platform
 Domain SearchFind and secure a domain name in seconds with our quick lookup tool
 All DomainsExplore domain names from over 324 TLDs globally – all in one place
 Free Whois Lookup Tool South Africa
 VPS
VPS SSLs
SSLsMissed an important email because you weren’t near your laptop? It happens.
Whether it’s work or personal, staying connected matters.
Setting up email on your Android phone makes that easy.
In this quick guide, you’ll learn how to set up email on Android.

No tech skills. Just simple steps anyone can follow.
Table of Contents
Why Set Up Email on Android?
Your Android phone is always with you, so why not your email, too?
When you set up email on your device, you unlock the freedom to check your inbox anytime, from anywhere.
You no longer have to wait until you’re back at your desk to respond to a message or read an important update.
Here’s what you get when your email is connected to your phone:
- Instant notifications – Get alerted the moment a new message lands in your inbox.
- Freedom to respond on the go – Reply to emails whether you’re at a meeting, traveling, or working remotely.
- Better communication – Stay in touch with colleagues, customers, or suppliers without delay.
- Easy inbox management – Add and organize multiple email accounts in one app.
What You Need Before Starting
Gather these details to set up your email:
- Email Address: Your full email, like [email protected].
- Password: The password for your email account.
- Server Settings: Incoming and outgoing server details.
- Domain Status: Ensure your domain is active (check via a web browser).
Step-by-Step Guide to Set Up Email on Android
Setting up email on your Android device takes just a few minutes.
Whether you’re using a Samsung, Huawei, or any other Android phone, the process is usually the same.
Here’s exactly what to do:
1) Open Your Email App
First, locate the Gmail app or your default Email app on your phone. Most Android devices come with one already installed.

If you can’t find one, download Gmail or another email app from the Google Play Store.
2) Add a New Account
Once the app is open:
- Tap the menu icon (usually three lines or dots in the corner).
- Go to Settings.
- Tap Add Account.
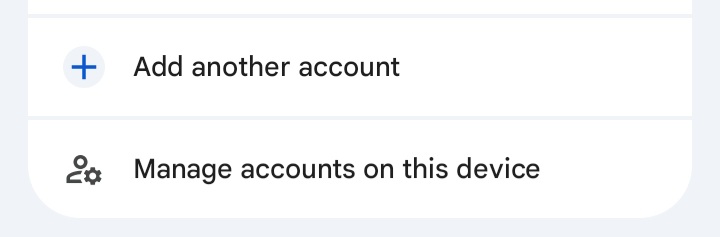
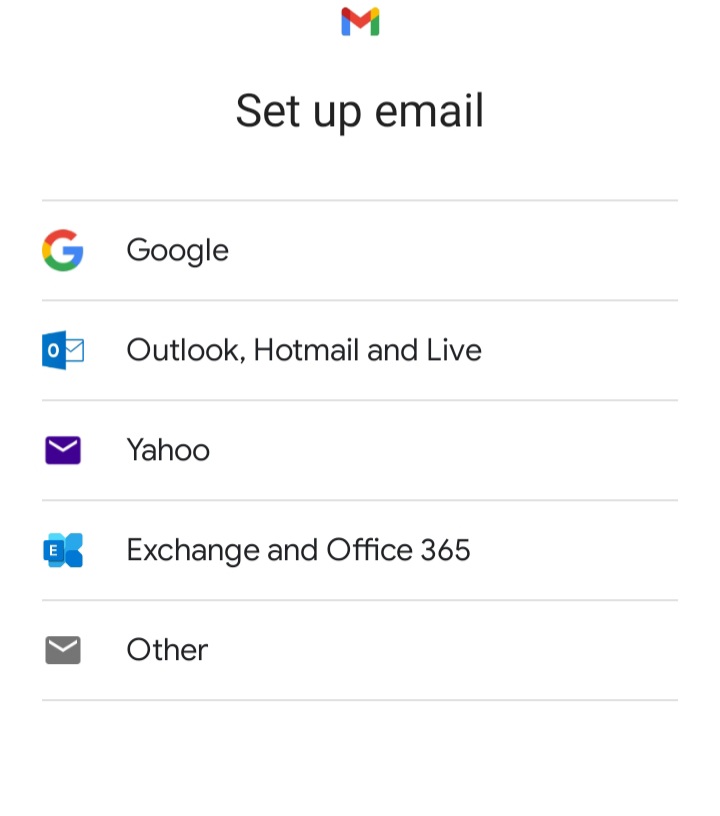
- Choose Other or select IMAP/POP3 if prompted.
3) Enter Your Email Address and Password
Type your full email address (like [email protected]).
Enter your email password carefully. Make sure there are no typos.
Tap Next to continue.
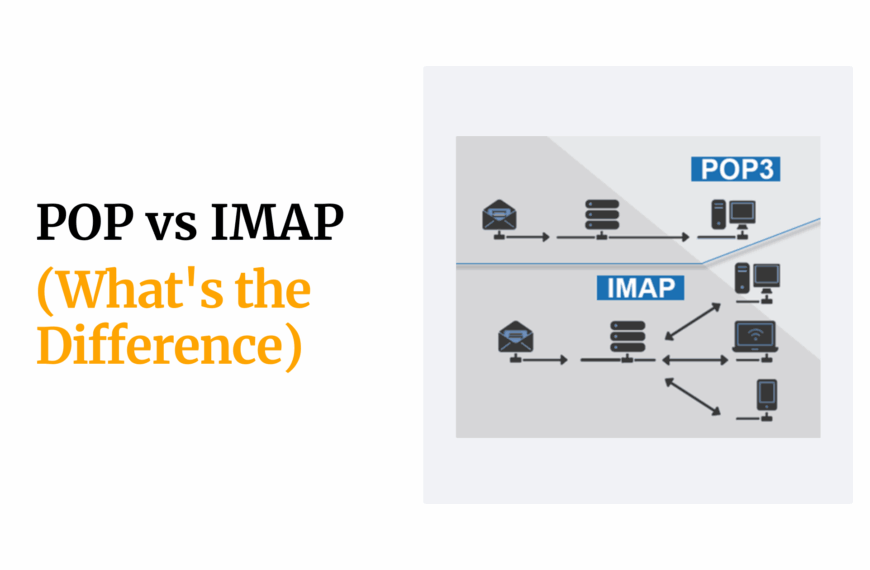
4) Choose Your Account Type
Now you’ll need to pick between IMAP and POP3.
- Choose IMAP if you want your emails to sync across multiple devices (recommended).
- Choose POP3 if you prefer to download emails only to this device (less flexible).
If you’re not sure, go with IMAP.
5) Enter Incoming Mail Server Settings
Next, fill in the incoming server details. These allow your phone to receive emails from the server.
▪️Server: mail.yourdomain.co.za
▪️Port: 993 for IMAP or 995 for POP3
▪️Security Type: Select SSL/TLS
▪️Username: Your full email address again
▪️Password: Your email password
Double-check everything, then tap Next.

6) Enter Outgoing Mail Server Settings
Now set up the details that allow your phone to send emails.
🔹️SMTP Server: mail.yourdomain.co.za
🔹️Port: Use 465 (SSL) or 587 (TLS)
🔹️Security Type: Again, choose SSL/TLS
🔹️Username: Enter your full email address
🔹️Password: The same password you used earlier
Make sure Require Sign-in is checked, then tap Next.
7) Finalize Your Email Setup
You’re almost done!
✔Review all your settings one last time.
✔Choose how often your phone should check for new emails (every 15 minutes, hourly, etc.).
✔Decide if you want notifications on for new emails.
✔Tap Done or Next, and your inbox should begin to load.
If everything was entered correctly, your email should now be working perfectly on your Android phone.
Troubleshooting Common Issues
Ran into a problem while setting up your email? Don’t worry, it’s usually something small. Here’s how to fix the most common issues:
🔘Can’t Log In?
If you’re getting a login error:
- Double-check your email address and password.
- Make sure there are no extra spaces or typos.
- If you’ve forgotten your password, reset it.
🔘Connection Errors?
Seeing a “can’t connect to server” message?
- Make sure your internet connection is stable, and switch between Wi-Fi and mobile data to test.
- Revisit the incoming and outgoing server settings and confirm they match what’s shown in this guide.
Even one wrong character can cause issues.
🔘Emails Not Sending?
If your emails won’t send:
- Double-check the SMTP server settings.
- Confirm you’re using the correct port:
- 465 for SSL
- 587 for TLS
- 465 for SSL
- Ensure authentication is turned on and your email address and password are entered correctly.
🔘Sync Issues?
If your inbox isn’t updating:
- Try clearing your inbox or spam folder to free up space.
- Check your phone’s storage settings. If your device is low on memory, syncing can be interrupted.
- Restart your email app or device.
Tips for Secure Email Use
Keeping your email secure is just as important as getting it working. Here are a few simple habits that go a long way:
- Use a strong password with a mix of letters, numbers, and symbols
- Enable two-factor authentication (2FA) in your Truehost SA cPanel
- Never click on links or download attachments from suspicious emails
- Keep your email app updated regularly for security patches
Why Choose Truehost SA for Email Hosting?
At Truehost SA, we don’t just give you an inbox; we give you the tools to build a professional, reliable, and secure email identity.
Here’s what you get with our email hosting:
- Custom domain email addresses (e.g., [email protected])
- Fast, stable servers with 99.9% uptime
- Built-in spam filters and secure delivery
- 24/7 customer support you can count on
- Easy setup on Android, iPhone, Outlook, and more
👉 Get Started with Truehost SA Email Hosting
Conclusion
Setting up email on Android is easier than it sounds. With the right details and a few quick steps, you’ll be checking your inbox wherever you are.
Whether you’re running a business or just want better communication, following the steps above will keep you connected.
And if you’re using Truehost SA, your experience will be even smoother.