 Web Hosting
 Windows HostingBuilt for Windows apps and websites – stability, speed and flexibility
 Reseller HostingLaunch a hosting business without technical skills or expensive infrastructure
 Affiliate ProgramRefer customers and earn commissions from sales across our platform
 Domain SearchFind and secure a domain name in seconds with our quick lookup tool
 CO ZA Domains
 All DomainsExplore domain names from over 324 TLDs globally – all in one place
 Free Whois Lookup Tool South Africa
 VPS
VPS Website Builder
 Online ShopSet up a sleek eCommerce store with zero coding knowledge
 SSLs
SSLs SupportAccess help articles, how-tos, and everything about our services
 Blog
Blog Contact UsReach our team instantly via live chat or drop us an email
A home assistant can take over a ton of daily tasks and save you real time. It can automate your smart home devices, manage schedules, send alerts, control lighting, and handle voice commands. Instead of doing everything by hand, setting up an OpenClaw home assistant helps you build a system that runs on its own.
In this guide, you will learn how to use OpenClaw as your home assistant. We will walk through the setup step by step, so you can get it running and start automating your tasks right away.
Let us dig in and get it set up.
Table of Contents
What You’ll Need Before You Start
Before you touch a single setting, gather these first.
a) You need an OpenClaw instance running around the clock. This can live on a:
- Raspberry Pi 4B or 5 (4GB or more RAM, aarch64)
- Raspberry Pi 3 (armv7)
- A mini PC
- A VPS
- Or even an old Android phone
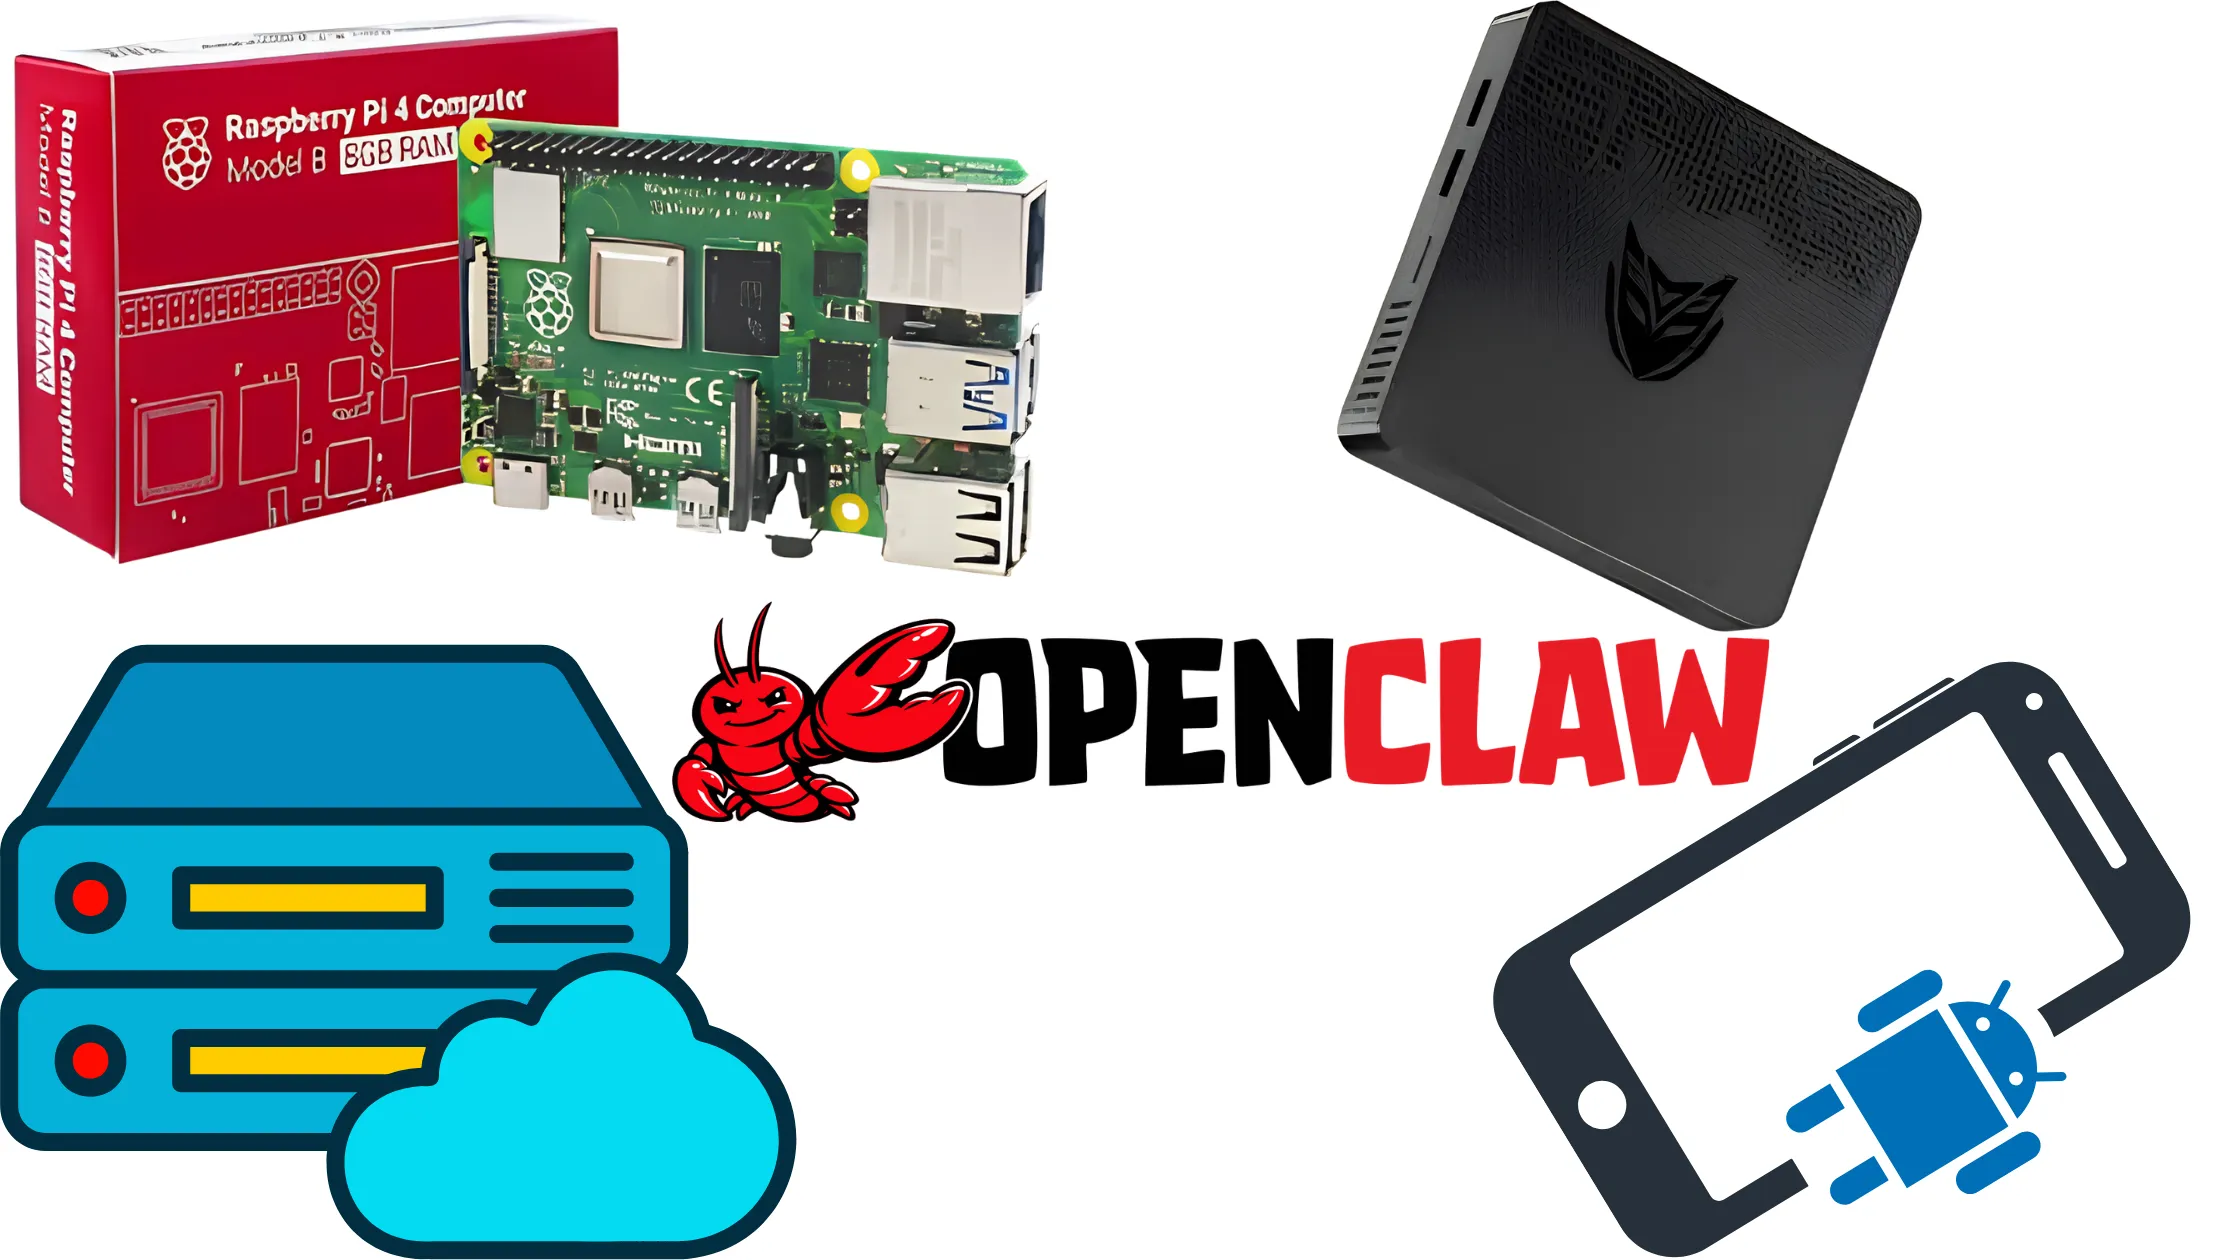
Think of this device as the always-on brain behind your OpenClaw home assistant.
b) You need a smart home hub or platform, and Home Assistant is the top pick here.
Some of OpenClaw’s capabilities include connecting to your smart home through Home Assistant’s own API. API is simply how two pieces of software talk to each other. So any platform Home Assistant already supports, like MQTT, Tuya, Xiaomi Mi Home, or SwitchBot, becomes available to OpenClaw through that same connection.
c) You will also need API access to your smart home platform, such as a Long Lived Access Token for Home Assistant. Think of this token as a special password that lets OpenClaw talk to your home setup safely.
d) You can also grab an AI model API key, whether that is OpenAI, Anthropic, Google Gemini, or a locally run model through Ollama. This lets your assistant follow plain, natural sentences instead of rigid commands.
e) Last, commit to keeping remote access secure.
OpenClaw is safe right out of the box, since by default it only binds to your local machine at 127.0.0.1 and creates a unique login token the first time it launches, and that token is needed on every gateway request except health checks. The only real risk shows up if you later change that bind address to 0.0.0.0, or expose the gateway through Docker or a badly set up reverse proxy. We will cover how to keep this locked down in Step 2.
Step 1: Generate a Home Assistant Long Lived Access Token
Log in to Home Assistant, then click your profile in the bottom left corner. Scroll down to Long Lived Access Tokens, click Create Token, and name it something clear, like OpenClaw Agent.
Copy the token right away, since you will not see it again once you close that window, and store it somewhere safe. If you use two-factor authentication, do not worry, since this token still works fine without it.
Step 2: Install OpenClaw (if not already installed)
Install OpenClaw using the official command:
curl -fsSL https://openclaw.ai/install.sh | bashThen run:
openclaw onboardDuring onboarding, add your LLM API key and choose your messaging platform. This step is what connects your OpenClaw home assistant to how you will actually control everything going forward.
Here is a closer look at security during install.
OpenClaw binds to 127.0.0.1 by default and requires a login token on every gateway request except health checks, so a fresh install is never exposed to the internet on its own. Keep it that way unless you truly need to change it.
If you ever do need remote access, turn on HTTPS first and restrict access to your specific messaging user ID. Avoid setting the bind address to 0.0.0.0 or routing it through an unprotected reverse proxy.
Step 3: Install the Home Assistant Integration
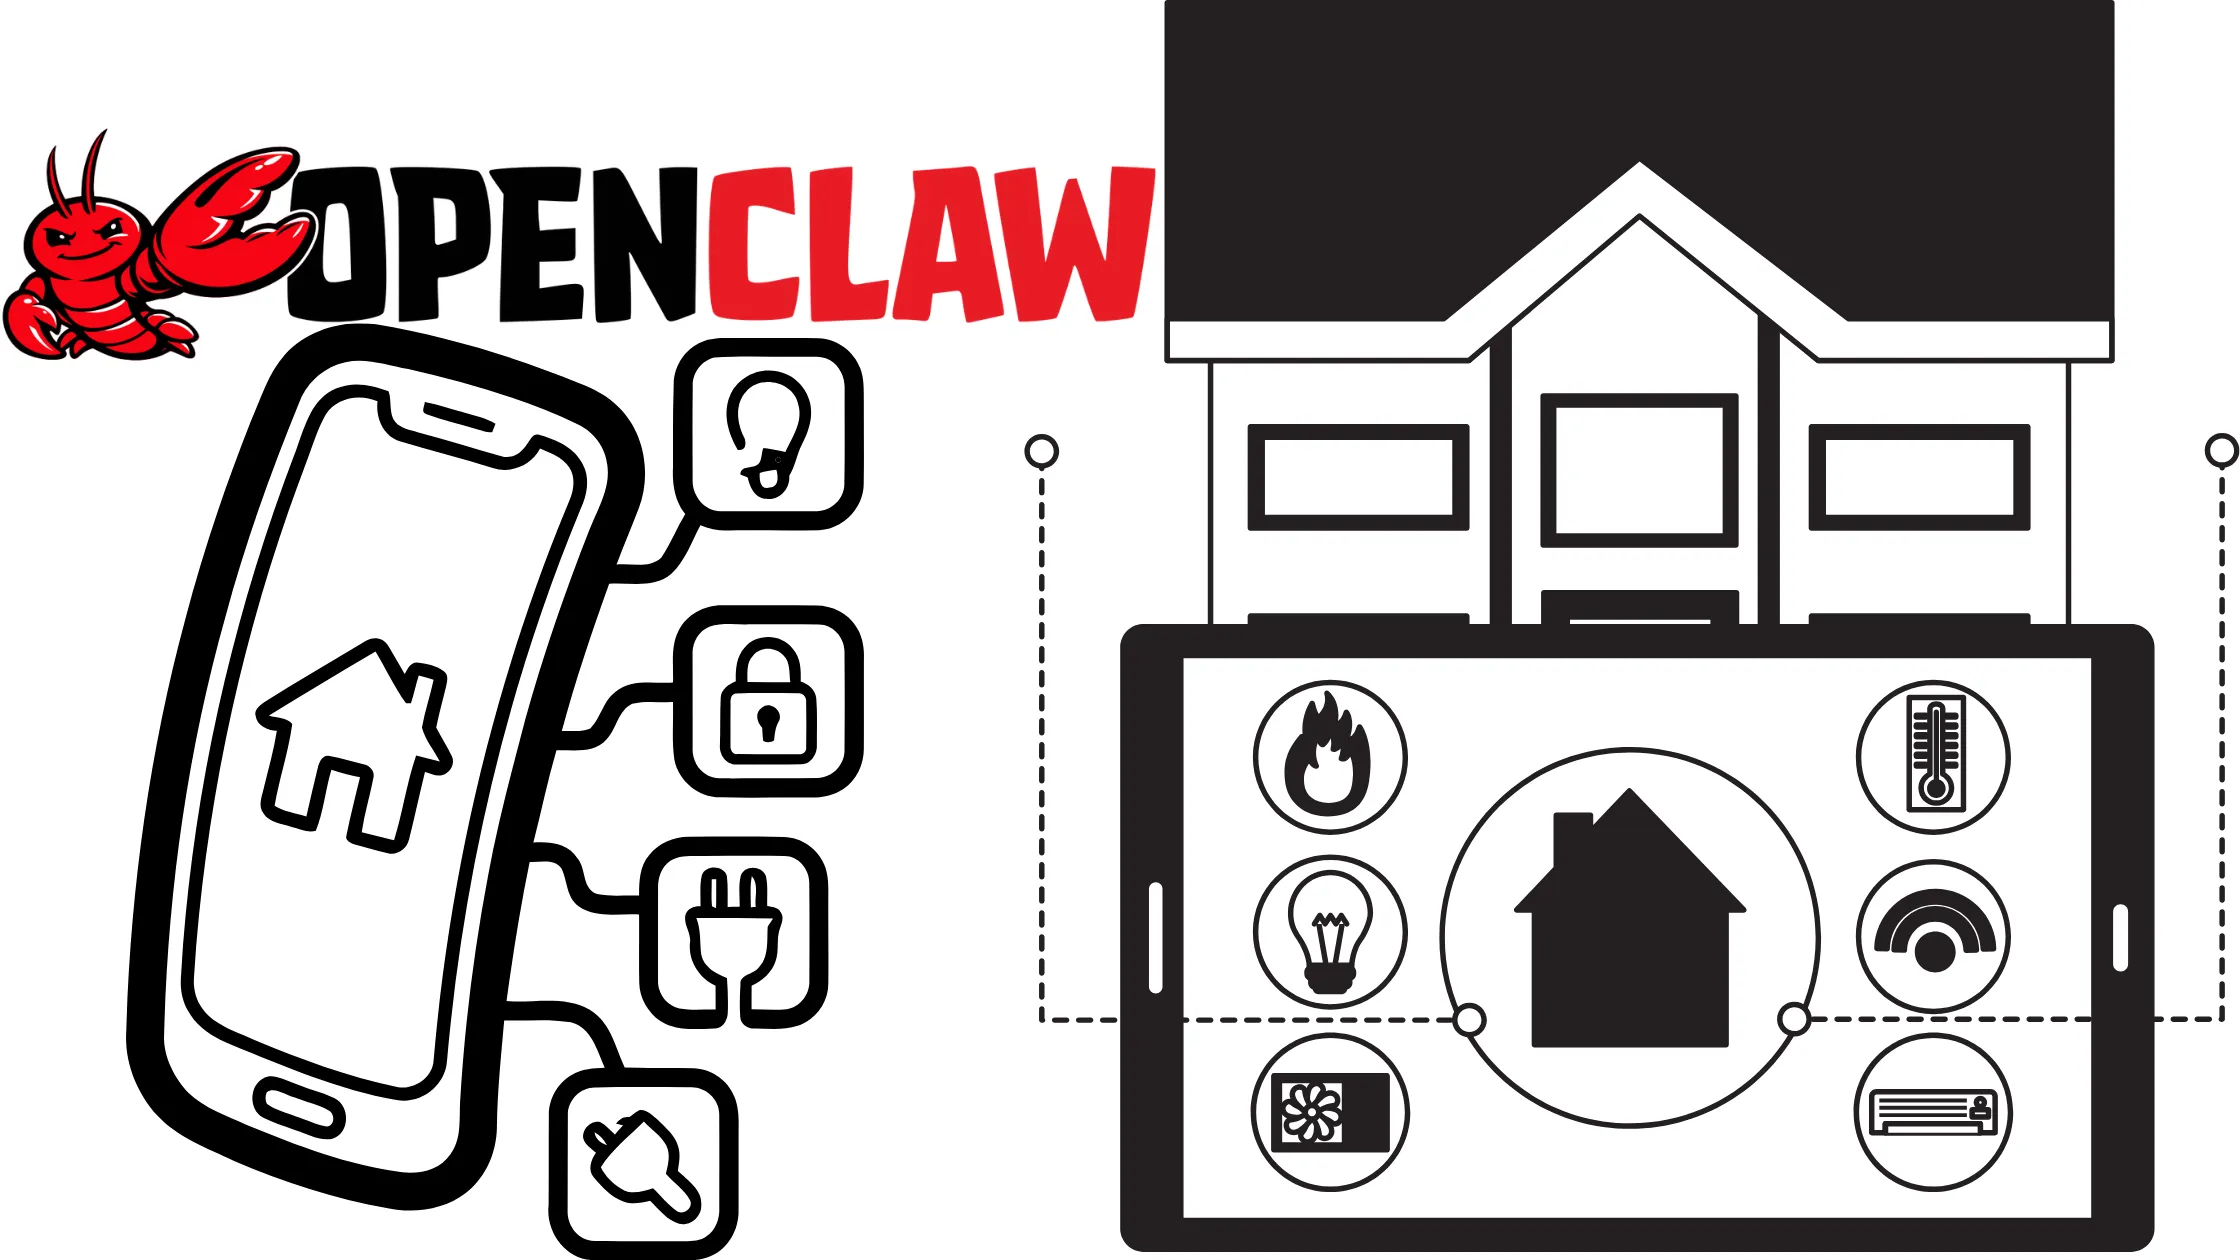
You have three options here, so pick whichever fits your OpenClaw Home Assistant setup best.
Option A: HACS custom integration
This works best if you run HA OS. Install HACS through Settings, then Addons. Go to Integrations, then Custom Repositories, and add techartdev/OpenClawHomeAssistantIntegration, setting the type as Integration, then click Download.
From there, go to Settings, then Devices and Services, click Add Integration, search for OpenClaw, and enter your OpenClaw webhook URL along with your API token.
Option B: Home Assistant Add-on
This runs your OpenClaw Home Assistant right inside HAOS. Add the techartdev/OpenClawHomeAssistant repository and install the add-on. This setup includes the full OpenClaw gateway, a web terminal, Assist Pipeline support, and storage that survives updates.
Option C: Manual skill config
This suits a self-hosted OpenClaw running on a separate machine. Set your Home Assistant token with export HOME_ASSISTANT_TOKEN=your_long_lived_token_here, and add it to your shell profile so it sticks around. Then add your Home Assistant URL and token inside OpenClaw’s skills configuration.
Step 4: Connect Your Messaging Channel
During onboarding, connect your preferred messaging platform, whether that is Telegram, WhatsApp, Discord, or iMessage. Your OpenClaw Home Assistant will work through whichever one you choose.
Once connected, you can control your home from anywhere, since your OpenClaw gateway runs nonstop on your server and stays available around the clock. With messaging in place, your OpenClaw home assistant is ready to actually respond once you reach the next step.
Step 5: Run Entity Discovery
Run the discovery scan, and it will query Home Assistant, return all entity IDs, and show friendly names with current states. Even with plenty of devices, this only takes a few seconds.
One thing worth knowing.
Home Assistant creates several entities per device, so you will likely see more entities than you expected. It is worth taking time to review the list and filter it down to only what you actually need.
OpenClaw sees these entities through its MCP, short for Model Context Protocol, which is how it connects to Home Assistant in the first place. This connection lets your openclaw home assistant read entity states, call services, and build automations directly, covering 34 tools across lights, switches, climate, and more.
Step 6: Test Basic Device Control
Start with a few simple tests, like turning lights on and off, adjusting brightness, changing thermostat settings, or locking and unlocking doors. These small tests confirm your openclaw home assistant is talking to your devices the way it should.
You can also run automations by name or trigger scenes like Movie Night or Good Morning. Try telling your openclaw home assistant things like “Turn off living room lights,” “Set bedroom lights to 40%,” or “Start movie night.” Commands do not need to be exact, since natural language works just fine here.
Step 7: Set Up Routines and Triggers
There are two kinds of automation at play here, and it helps to know the difference between them.
OpenClaw managed routines run on cron-style schedules you set directly through OpenClaw, like a message that goes out at the same time every day. Home Assistant native automations work a bit differently, since they trigger from events inside Home Assistant itself, and OpenClaw can simply call them by name.
Now it is time to automate your home with your OpenClaw Home Assistant. You can set schedules using cron-style timing, trigger actions from Home Assistant events, or even use presence-based routines that respond when you arrive or leave.
Try examples like “Message me when temperature drops below 18°C,” “Turn lights on when I arrive home,” or “Prepare house for guests at 7 PM.” You can even build actions across multiple devices, like lights, the thermostat, and notifications, all working together.
For anything with more complex logic, build a native Home Assistant automation first, then trigger it through OpenClaw by name.
Step 8: Keep It Running and Up to Date
This is a step you do not want to skip.
By default, the gateway only binds to 127.0.0.1, your own local machine, and that is the safe setup to stick with. OpenClaw will not expose itself to outside networks unless you explicitly change the bind address to something like 0.0.0.0, or expose it through Docker or a badly configured reverse proxy.
It also runs on port 18789 by default, which is simply the listening port for the gateway service.
Authentication stays on the whole time too.
On the first run, OpenClaw creates a random login token, and every gateway request needs this token in the header:Authorization:Bearer. The only exception is the health check endpoint, which stays open for monitoring.
A few commands are worth remembering here:
Regular updates run:
openclaw updateCheck system health:
openclaw doctorMonitor gateway:
openclaw gateway statusCheck logs:
journalctlOpenClaw as Your Home Assistant Troubleshooting
| Issue | Fix |
| Gateway will not start | Run openclaw doctor to check for config errors, then restart and confirm with openclaw gateway status that it is live |
| Messaging bot gives no response | Reconnect your platform through openclaw onboard and confirm the bot has the right permissions |
| Entities not showing up | Re-run entity discovery, and check that the entity is exposed to the OpenClaw integration in Home Assistant |
| Cannot reach OpenClaw remotely | Confirm HTTPS is enabled and access is restricted to your messaging user ID, and do not expose the default port publicly without this |
| AI responses stop working | Check your internet connection if using a cloud LLM, since local Home Assistant automations keep running regardless |
| Automation did not trigger | Confirm whether it is an OpenClaw cron routine or a Home Assistant native automation, since each one works a little differently |
Start Using OpenClaw as Your Home Assistant Now
You now have a complete setup ready to go on how to use OpenClaw as your Home Assistant.
OpenClaw connects your Home Assistant to a simple messaging interface, so you can control devices with simple messages, run automations easily, and access your home from anywhere.
If you want stable performance behind all of this, you need reliable hosting. Truehost is a strong option here, giving you a fast OpenClaw VPS, good uptime, affordable pricing, and easy scaling as your needs grow. Start small with Truehost OpenClaw hosting, then grow your OpenClaw Home Assistant as your needs expand.