 Web Hosting
 Windows HostingBuilt for Windows apps and websites – stability, speed and flexibility
 Reseller HostingLaunch a hosting business without technical skills or expensive infrastructure
 Affiliate ProgramRefer customers and earn commissions from sales across our platform
 Domain SearchFind and secure a domain name in seconds with our quick lookup tool
 All DomainsExplore domain names from over 324 TLDs globally – all in one place
 Free Whois Lookup Tool South Africa
 VPS
VPS SSLs
SSLsLooking to make your WordPress site stand out?
Whether you run a business, blog, or online store in South Africa, a banner can help.
It grabs attention. It highlights offers. It lets you share your message visually.
In this easy-to-follow guide, we’ll walk you through exactly how to add a banner to WordPress, no coding required.


Table of Contents
What Is a Banner in WordPress?
A banner is a wide image or graphic placed at the top or within your web page. It can highlight:
- Promotions or sales
- Announcements
- Welcome messages
- Your brand identity
Banners can appear on the homepage, blog posts, or specific landing pages.
Why Add a Banner to Your WordPress Site?
A banner isn’t just a design element; it’s a powerful tool to guide your visitors. When used well, it can shape how people interact with your site and what actions they take next.
Whether you’re announcing a sale, promoting a service, or simply making a bold first impression, banners do the job effectively.
Benefits of Using Banners
- Grab attention instantly
Bright, well-placed visuals naturally draw the eye. Visitors are more likely to engage with what they see first.
- Boost clicks to key pages
Link your banner to product pages, signup forms, or contact sections to drive more traffic exactly where you want it.
- Promote limited-time offers
Banners are ideal for sharing urgent updates, flash sales, upcoming events, or seasonal campaigns.
- Strengthen your brand identity
Consistent use of colors, fonts, and messages across your banners helps build trust and recognition.
- Improve user experience
A clear banner can help users navigate your site more easily, reducing confusion and encouraging longer visits.
Step-by-Step Guide to Add a Banner to WordPress
Follow these steps to add a banner to WordPress quickly and easily. Choose the method that fits your needs.
1) Decide Where to Place the Banner
Before you create anything, choose the best spot for your banner based on what you want to achieve:
- Homepage – Ideal for creating a strong first impression.
- Header – Appears across all pages for maximum visibility.
- Landing pages – Great for promoting offers or capturing leads.
- Blog posts – Useful for announcing new products or updates.
Each location supports a different purpose, so think about what your visitors are most likely to see and engage with.
2) Design Your Banner
Start by using a free tool like Canva to create a visually appealing and professional banner. It doesn’t need to be complex, just clean, bold, and on-brand.
For size, it depends on where your banner will appear:

- If it’s for your homepage, a wide format like 1920 by 600 pixels works well.
- For blog banners, aim for 1200 by 400 pixels to fit nicely above your content.
- Sidebar banners are usually smaller, 300 by 250 or 300 by 600 pixels are common.
When designing, keep these tips in mind:
- Use large, bold text that grabs attention.
- Include a clear call-to-action (CTA), like “Shop Now” or “Learn More.”
- Stick to your brand colors for consistency.
- Keep the message short and easy to read at a glance.
Once your banner is ready, save it as a JPG or PNG file to ensure it loads quickly and looks sharp on all devices.
3) Upload the Banner to WordPress
Option A: Add with Block Editor (Gutenberg)
- Edit the page or post where you want the banner.

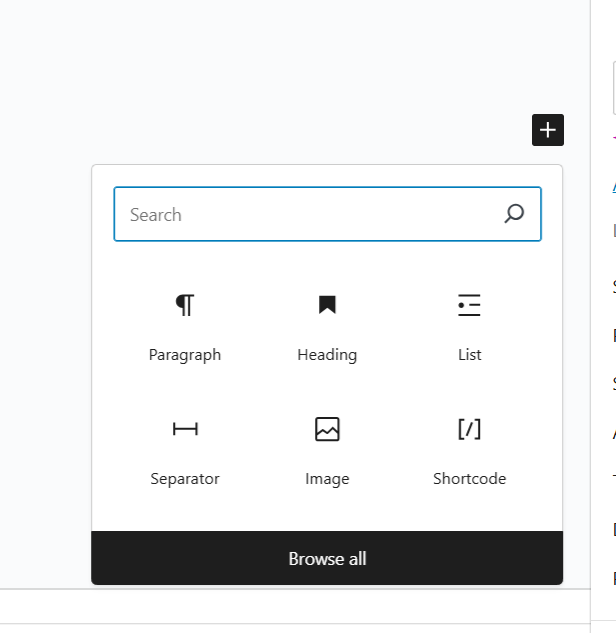
- Click the “+” icon and select the Image block.
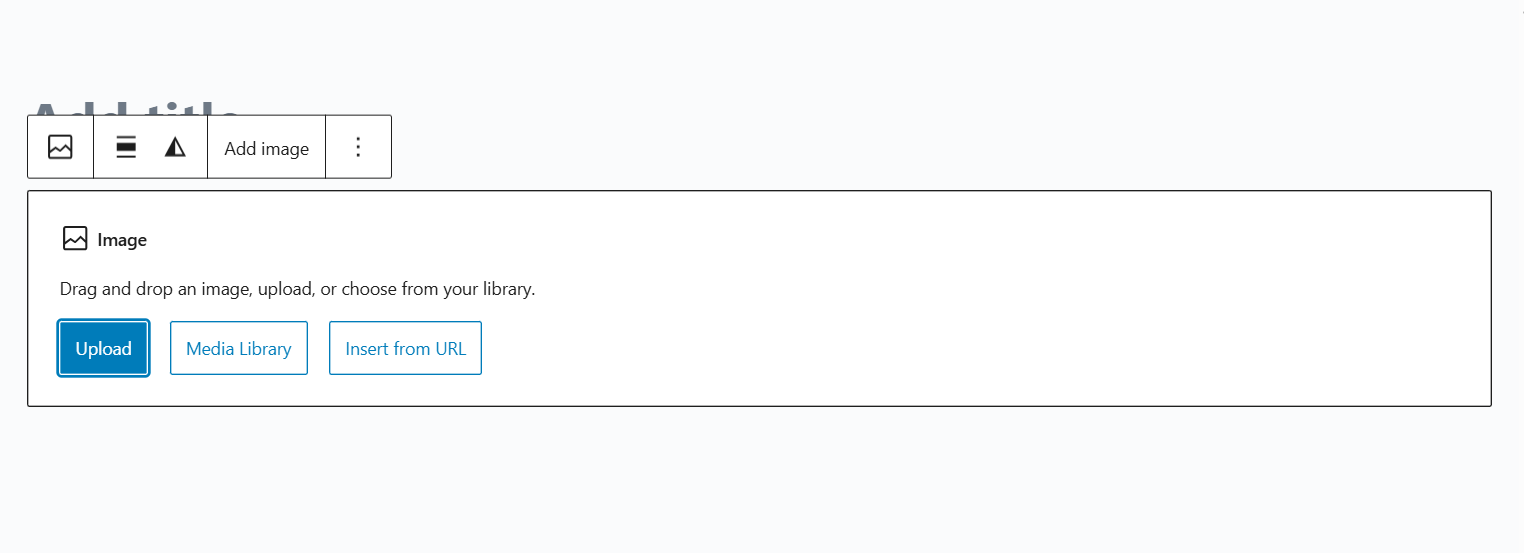
- Upload your banner or pick one from your Media Library.
- Add alt text for SEO.

- Click Publish or Update to save changes.
Option B: Add to Header or Homepage Using Theme Customizer
- In your WordPress dashboard, go to: Appearance > Customize
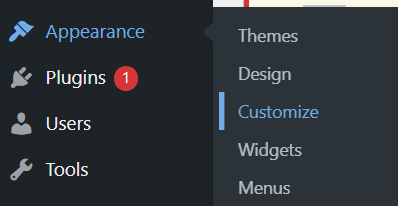
- Go to Header or Homepage settings.

- Look for options like Hero Banner or Slider (depends on your theme).
- Upload the banner and adjust its placement.
- Click Publish to apply the changes.
4) Use a Plugin for More Banner Control
If you need more flexibility when adding banners to your site, plugins can make a big difference.
They allow you to schedule when banners appear, rotate different versions, and place them in areas your theme might not support by default.
One option is WP Bannerize, which helps you manage banners using widgets.
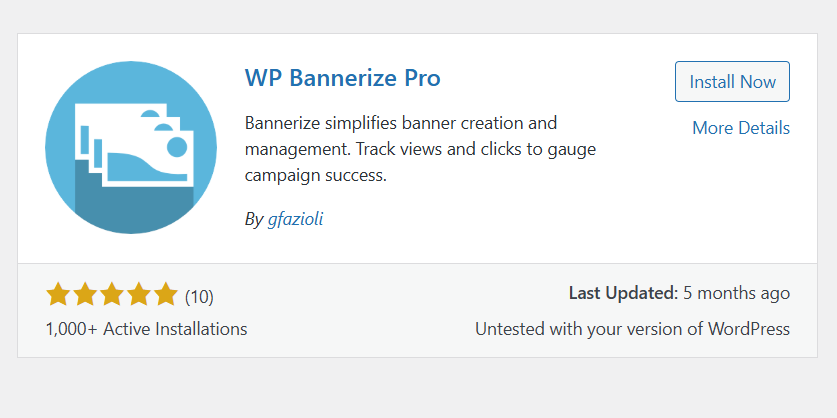
It’s simple to use and great for placing banners in your sidebar or footer.
Another powerful tool is Ad Inserter.
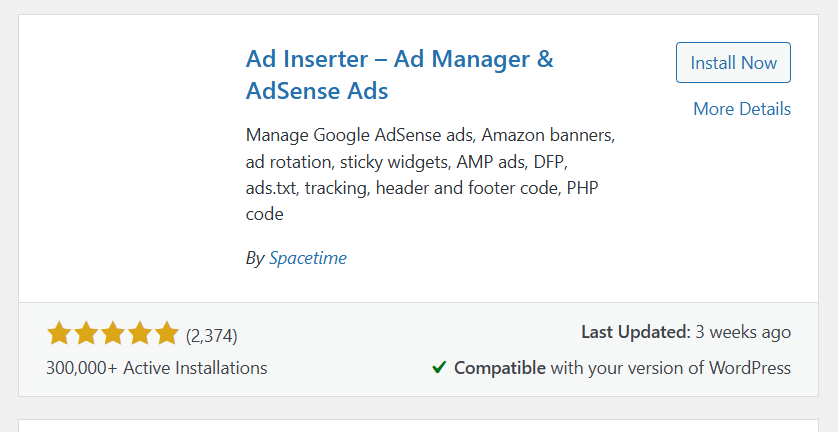
This plugin gives you full control over where your banners show up, even between posts or inside your theme’s code.
It’s perfect if you want banners in multiple, specific locations.
For a more visual, design-friendly experience, try Elementor.
It lets you drag and drop banners into any part of your page, making it easy to customize their look and placement without writing code.
5) Make the Banner Clickable
Turn your banner into a traffic-driving link:
- After inserting the image, click to select it.
- Use the link icon to add a destination URL (e.g., product page).
- Choose to open in a new tab for a better user experience.
6) Optimize for Speed and SEO
A beautiful banner isn’t helpful if it slows down your site.
Before uploading:
- Compress the image using tools like TinyPNG.
- Add alt text using relevant keywords.
- Give the image a descriptive title for better accessibility and SEO.
Common Mistakes to Avoid
Don’t let small errors ruin your banner’s impact. Watch out for these pitfalls.
- Overloading with text: Keep your message clear and concise.
- Using low-quality images: Blurry visuals hurt your brand.
- Ignoring mobile users: Always test your banner on phones and tablets.
- Slow-loading banners: Compress images to maintain site speed.
Conclusion
Banners are a simple but powerful way to boost engagement on your WordPress site. With the right tools and smart placement, you can highlight key content, drive clicks, and improve your site’s overall look and performance.