 Web Hosting
 Windows HostingBuilt for Windows apps and websites – stability, speed and flexibility
 Reseller HostingLaunch a hosting business without technical skills or expensive infrastructure
 Affiliate ProgramRefer customers and earn commissions from sales across our platform
 Domain SearchFind and secure a domain name in seconds with our quick lookup tool
 CO ZA Domains
 All DomainsExplore domain names from over 324 TLDs globally – all in one place
 Free Whois Lookup Tool South Africa
 VPS
VPS Website Builder
 Online ShopSet up a sleek eCommerce store with zero coding knowledge
 SSLs
SSLs SupportAccess help articles, how-tos, and everything about our services
 Blog
Blog Contact UsReach our team instantly via live chat or drop us an email
An OpenClaw deployment assistant helps automate software deployments while reducing common mistakes. Instead of manually checking build commands, environment variables, and deployment settings, the assistant can review your project, flag potential issues, and guide you through the deployment process. You decide which actions it can perform automatically and which require your approval.
OpenClaw isn’t a deployment tool by itself. It’s an open-source, self-hosted AI agent framework that connects chat apps like Telegram, Slack, Discord, and WhatsApp to an AI agent running on your own server. By giving the agent deployment skills, instructions, and permission controls, you can turn it into a deployment assistant that helps deploy applications safely and consistently. This guide shows you how to build and configure one.
Table of Contents
Prerequisites
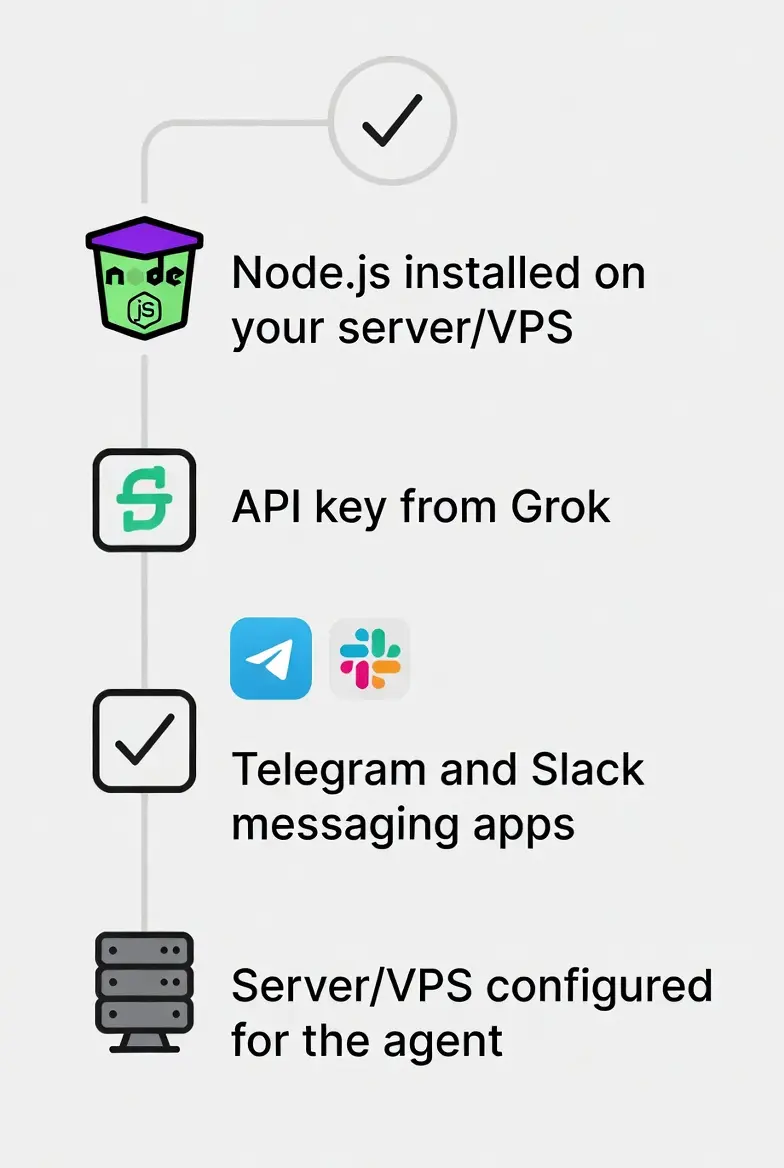
Before you start, you’ll need:
- Node.js 22.19+ at minimum, 24 recommended. This is the runtime OpenClaw’s Gateway process runs on.
- An LLM API key from OpenAI, Anthropic, or Google Gemini. This is the model that powers the agent’s reasoning; OpenClaw is model-agnostic and connects to whichever provider you configure.
- A messaging channel account, typically Telegram or Slack, so you have somewhere actually to talk to the assistant. OpenClaw supports many more channels (Discord, WhatsApp, Signal, iMessage, Microsoft Teams, and others), but Telegram and Slack are the most common starting points for a first deployment agent.
- An always-on server. Because the Gateway is a persistent process, it needs to keep running between the moments you’re actively chatting with it; otherwise, scheduled checks, pending approvals, and background monitoring stop working the moment you close your laptop. Any VPS provider works for this; what counts is that the box stays up.
Step 1: Install OpenClaw and Set Up Hosting
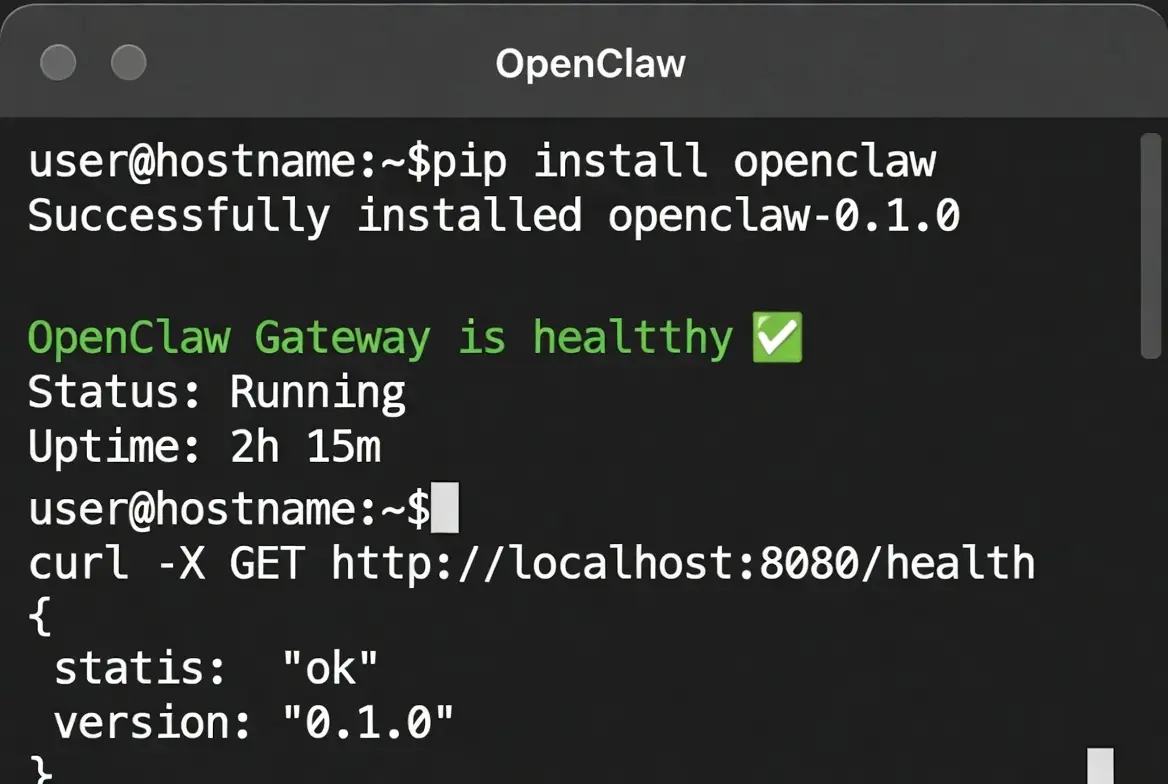
Start by installing OpenClaw and getting the Gateway running somewhere that stays online. The project ships a guided setup flow; running OpenClaw onboard in a terminal walks you through configuring the Gateway, workspace, channels, and initial skills, so you’re not hand-editing JSON config files from scratch on day one.
You have two broad hosting paths:
- Manual installation on a VPS you provision and manage yourself; full control, more setup work.
- A pre-configured or managed hosting option, where a provider handles provisioning and keeps the instance patched and running.
Either way, once installation finishes, confirm the Gateway is actually healthy before moving on; OpenClaw’s built-in openclaw doctor diagnostic command is the fastest way to check this, and it’s worth getting in the habit of running it after any config change, not just the first install.
Choosing where to host it
The specific provider counts less than a short list of practical requirements:
- Persistent uptime. The Gateway needs to be reachable at any hour, since deployment requests won’t always arrive during business hours.
- Enough headroom for build checks. If your deployment skill runs npm install, test suites, or build commands as part of validation, the box needs enough CPU and memory to do that without choking.
- Predictable networking. Outbound access to your Git host, package registries, and your chosen LLM provider, plus a stable way to reach the messaging channel’s API.
- Straightforward SSH or console access, so you can intervene directly if the agent (or the box) misbehaves.
Any general-purpose VPS that meets these criteria will work. If you’re evaluating providers, it’s worth comparing based on those four points rather than marketing copy; an always-on agent has more in common with a small always-on service than with a typical web app, so uptime guarantees and support responsiveness matter more than raw specs.
Step 2: Create a Dedicated Deployment Agent
Resist the temptation to bolt this onto your existing personal OpenClaw assistant. OpenClaw supports multi-agent routing; you can route different channels, accounts, or chat peers to isolated agents, each with its own workspace, session history, and skill set. Create a new agent specifically for deployment work, and connect it to its own dedicated Telegram or Slack channel.
This separation counts for a few reasons:
- Blast radius. A deployment agent with production access is a meaningfully higher-risk surface than an assistant that reads your email. Keeping it isolated means a prompt injection or misconfiguration in one context can’t reach into the other.
- Signal clarity. A channel dedicated to deployments only carries deployment-relevant messages; approvals, build results, and plan summaries; instead of being mixed in with unrelated chatter.
- Independent lifecycle. You can update, restart, or restrict the deployment agent without touching the assistant you rely on for everything else.
Step 3: Define the Agent’s Identity
Every OpenClaw agent workspace can contain a set of plain-text files that get injected into the agent’s context; things like AGENTS.md (the operating manual), SOUL.md (tone and persona), and IDENTITY.md. For a deployment agent, IDENTITY.md (or the relevant section of your AGENTS.md) is where you spell out its actual job description in plain language:
- What it’s allowed to do freely: inspecting a repository, reading configuration files, running local build and test commands, checking logs.
- What requires explicit approval: anything that touches a production environment, deletes data, rotates credentials, or spends money.
- What’s prohibited outright: force-pushing to protected branches, modifying DNS or billing settings, running commands outside the project directory, and so on.
A clear identity does more than document your assistant’s role. OpenClaw includes these instructions in the AI’s context for every relevant task, helping it stay focused on its assigned job. Since an OpenClaw agent can run shell commands and use any credentials you provide, clearly defining its role and requiring approval for sensitive actions help keep deployments safe.
Step 4: Create the Deployment Skill
In OpenClaw, a skill is a SKILL.md file; a markdown instruction pack with YAML frontmatter that the agent loads into its context when a task calls for it. Skills are the right tool here because deployment isn’t a one-off task; it’s a repeatable workflow with a rubric, and that’s exactly what skills are designed to encode.
A solid deployment skill should walk the agent through:
i) Inspecting the project: reading the repository structure, package manifests, and config files to understand what kind of application it is.
ii) Identifying the application type: static site, Node/Python/Go service, containerized app, and so on, since that determines which build and hosting rules apply.
iii) Validating required files: confirming the build script, environment variable list, and any platform-specific config (like a Dockerfile or a framework-specific config file) actually exist and look correct.
iv) Running build and test checks locally: catching failures before anything touches a live environment.
v) Summarizing the deployment plan: a clear, human-readable statement of what will change and where.
vi) Requesting explicit approval before any production deployment executes.
Skill files live in the agent’s workspace and can be layered; a workspace-level skill overrides a shared or bundled one of the same name, so you can iterate on your deployment skill without touching global config.
Step 5: Test the Skill Locally
Don’t hand this agent a production deployment as its first real test. Run it against a local or staging project first, and walk it through the entire workflow end to end: inspection, validation, build checks, and plan summary. Pay close attention to whether it actually stops and asks for approval at the right points, rather than assuming it will just because you wrote that instruction into the skill.
This step is cheap compared to the alternative. A gap in the skill’s logic, say, it misidentifies an environment variable as optional when it’s required, or it doesn’t recognize a particular framework’s build output directory, is a quick fix when you catch it against a staging project.
The same gap discovered mid-deployment against production is a much more expensive lesson.
Step 6: Restrict the Agent’s Skill Access
Once your deployment skill is working, limit the agent to only the skills it needs.
OpenClaw supports per-agent skill allowlists, making it easy to restrict access.
This isn’t just about keeping things organized. Every extra skill or tool increases the chance of something going wrong.
For example, an unrelated skill could run unexpectedly. Or a prompt injection hidden in a file could try to access tools the agent doesn’t actually need.
Keeping the agent’s permissions as narrow as possible makes deployments safer and more predictable.
A deployment agent doesn’t need access to your email skill, your calendar skill, or anything unrelated to shipping code.
Step 7: Create Deployment Playbooks
Skills define how the agent behaves. Playbooks define how each deployment target works.
Create a separate playbook for every hosting platform you use. For example, have one for a static site host, another for a container platform, and another for a VPS.
Each playbook should include the exact build command, the output directory, how to configure environment variables, and any platform-specific requirements. This could include build timeouts, required configuration files, or CLI flags.
The goal is to remove guesswork. Instead of relying on general knowledge, the agent follows a playbook you’ve already tested and verified. This helps prevent small deployment mistakes.
Step 8: Add Project-Level Instructions
For every project the agent might deploy, add a project-level instructions file (commonly placed at .agents/DEPLOYMENT.md in the repo) documenting:
- The framework and language the project uses
- The hosting platform it targets
- The exact build process and output directory
- Required environment variables (names, not secret values)
- Any project-specific quirks or deployment requirements
This file travels with the project rather than living only in the agent’s workspace, which counts if more than one agent, or a human, ever needs to deploy the same project. It also means the agent doesn’t have to re-derive project-specific facts from scratch on every run; it reads them.
Step 9: Configure Safety Gates
This is the step that makes everything above trustworthy in practice. Set up approval tiers based on risk:
- Low-risk, reversible actions, such as reading files, running a local build, and generating a plan, can run without a human in the loop.
- Production deployments and anything destructive (deleting resources, force-pushing, rotating credentials, modifying live infrastructure) should always require an explicit human confirmation before execution.
OpenClaw includes a built-in approval system for sensitive actions. On supported chat platforms, the agent displays an approval card or button instead of asking for a text reply. If the platform doesn’t support this feature, it falls back to a manual /approve command.
You can configure approvals, sandboxing, and tool permissions separately. For example, you can allow the agent to run exploratory tasks in a sandbox while requiring explicit approval before it accesses the host system or performs production deployments.
It’s also a good idea to set spending limits on your LLM provider account. If the deployment agent gets stuck in a retry loop or runs build checks more often than expected, API costs can increase quickly. Spending limits help prevent unexpected charges.
Deploy Smarter and Safer with OpenClaw
An OpenClaw deployment assistant makes software deployments easier and more reliable. It can check your project, validate settings, run build and test tasks, and ask for your approval before making production changes.
By setting up a dedicated deployment agent, defining clear instructions, and enabling approval controls, you can create a safer and more consistent deployment process. Start with simple tasks, test everything in a staging environment, and expand the assistant’s responsibilities as you gain confidence.
Ready to deploy your own OpenClaw deployment assistant? Choose reliable, pre-configured OpenClaw hosting and get started faster.
OpenClaw Deployment Assistant FAQs
Is it safe to give it repo and production access?
Only if it’s properly scoped. Run it in its own isolated agent workspace, restrict it to the skills it actually needs, and make sure approval gates sit in front of anything destructive or production-facing. OpenClaw’s own security documentation is direct about the underlying risk: the assistant can execute shell commands, read and write files, and message anyone it has channel access to, so the safety of the setup comes entirely from how narrowly you scope its identity, tools, and approvals, not from anything inherent to the software.
Does OpenClaw deploy on its own, or just prepare things?
In the workflow described above, it inspects the project, drafts configuration, and runs local build/test checks on its own; then stops and asks before executing anything that touches production. Where that line sits is entirely up to your safety-gate configuration; you can make it more autonomous or more conservative.
Can it manage multiple projects or hosting targets?
Yes. Start with one or two targets you use often, get the playbooks and skill logic solid, then expand once you trust the workflow.
Does Openclaw deployment assistant need to run 24/7?
For it to be genuinely useful, able to receive a deployment request whenever it arrives or run scheduled checks, yes. That’s the main reason an always-on VPS is a prerequisite rather than an optional nice-to-have.
What does OpenClaw deployment assistant cost?
OpenClaw itself is free and open source (MIT licensed). Your ongoing costs are the LLM API usage and whatever VPS you host it on, both of which scale with how much you actually use the assistant, and both of which you can cap directly (spending limits on the API side, resource limits on the hosting side).